
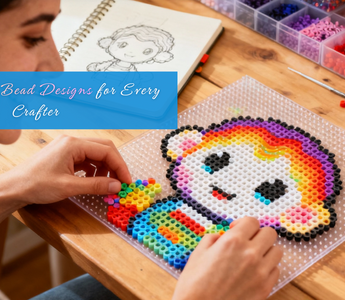
If you enjoy colorful and creative crafts, melty bead art is a fun way to express yourself. These tiny plastic beads fuse together when heated, turning simple patterns into detailed pieces of art.
Whether you’re decorating your room, creating jewelry, or designing gaming icons, there are endless cool melty bead designs to try.
This guide will show you the most creative melty bead ideas, expert techniques, and helpful tips so your projects look neat and professional.
Whether you’re a beginner or a seasoned crafter, you’ll find inspiration to craft something truly unique.
Quick Guide 💡:
- Cool, melty bead designs are creative, colorful projects ideal for all ages.
- You can make themes like gaming icons, 3D builds, jewelry, and home décor.
- Always organize beads by color and use even heat when ironing.
- Great materials and patience create stunning, professional-looking results.
- High-quality beads from Caydo make fusing smoother and colors more vibrant.
You May Want to Shop Fuse Beads

Caydo 10,000pcs Fuse Bead Starter Kit
Key Features
- 200+ App Patterns: Access over 200 pre-loaded designs in the Caydo Art Design App, with new patterns added monthly. Create pixel art, charms, and décor in one click.
- Smart Color Guidance: The app generates numbered bead maps that match Caydo’s 36 colors, making crafting easy for kids and beginners. No design skills needed.
- Safe, Child-Friendly Materials: Made with CPC-certified, non-toxic beads that melt smoothly without fumes. Colors stay bright and durable, safe for ages 6 and up.
- Creative Gift for Kids: Encourages focus, patience, and fine motor skills. Comes in premium packaging, perfect for birthdays, holidays, classrooms, or family crafts.
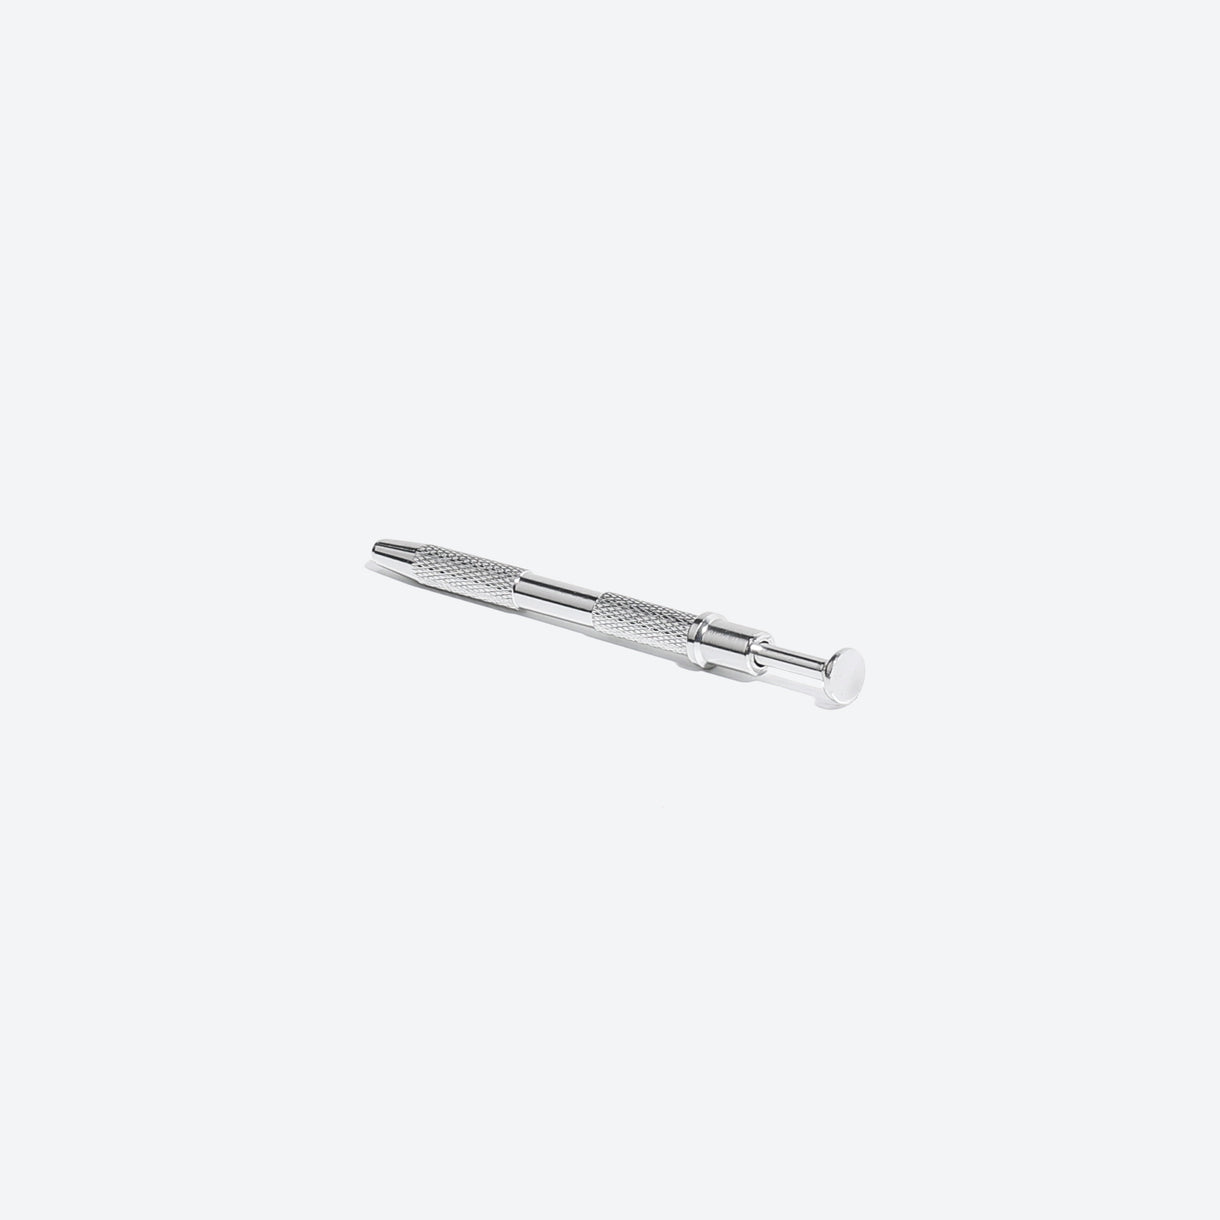
- Complete 10,000pcs Starter Kit: Includes 36-color 5mm fuse beads with storage, mini iron, heat mat, 20 ironing papers, 2 pegboards, 10 hooks, 10 ropes, 2 tweezers, and user manual—everything ready to start.
What Makes a Design Cool?
A cool melty bead design isn’t just about the shape — it’s about how much creativity and personality you put into it. It could be a playful mini character, a huge pixel scene, or even a 3D build that jumps off the table.
The coolest designs usually have these features:
- Strong contrast and clean color gradients.
- Clever or trendy subjects (pop culture, gaming, or anime).
- A combination of flat and 3D techniques.
- Functional use — like magnets, jewelry, or keychains.
The best part about melty bead crafting is that you can turn a simple grid of plastic dots into art that looks professional and detailed.
Popular Categories of Cool Melty Bead Designs

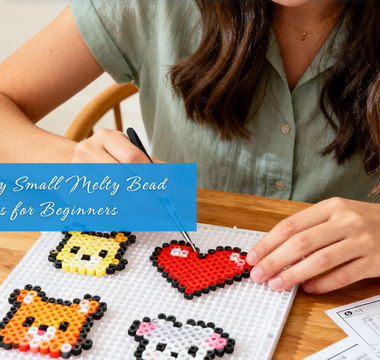
1. Mini Designs for Quick and Fun Crafts
Small projects are great when you’re new or want something quick. They’re simple, fast to iron, and perfect for testing out color combinations.
Easy mini design ideas:
- Smiley faces or emojis.
- Mini hearts, stars, or flowers.
- Symbols and letters for keychains.
- Cartoon and animal faces.
- Mini food items like donuts or ice cream.
Expert tip: Keep your mini designs under 15×15 beads so they’re easy to fuse evenly.
2. Video Game and Pixel Art Designs
Melty beads are basically real-world pixels, which makes them perfect for gaming themes. You can recreate your favorite characters, items, and logos from classic games.
Creative gaming ideas:
- Super Mario mushrooms, coin boxes, or stars.
- Pokémon characters like Pikachu or Charmander.
- Minecraft swords, hearts, or mobs.
- Retro consoles or handheld systems.
- Zelda hearts, keys, or shields.
3. Themed 3D Melty Bead Builds

For those who love a challenge, 3D melty bead projects are an exciting next step. These involve building multiple sections and joining them to create figures or structures.
Cool 3D projects to try:
- Cube animals or block figures.
- Boxes, storage containers, and mini drawers.
- Robots, vehicles, or LEGO-style builds.
- Characters with moving parts or layers.
- Decorative vases or geometric shapes.
Tips:
- Iron pieces evenly on both sides.
- Use glue or gentle heat to connect layers.
- Assemble by following an internal structure or a frame for stability.
3D builds are visually impressive and make excellent desk or shelf décor.
4. Functional and Everyday Bead Crafts

Melty beads aren’t just for art. You can make fun, useful items that brighten your daily life.
Everyday bead ideas:
- Coasters and keychains.
- Magnets for fridge décor.
- Bookmarks, photo frames, or card holders.
- Beaded name tags or signs.
- Pen or brush holders.
For an extra touch, combine opaque and translucent beads for interesting light effects, especially on window hangers.
5. Seasonal and Festive Melty Bead Creations

Holidays are a great time to bring color and creativity to your space using bead crafts that reflect the season.
Seasonal projects to try:
- Christmas: Snowflakes, trees, stockings.
- Halloween: Pumpkins, bats, candy corns.
- Easter: Eggs, bunnies, chicks.
- Valentine’s: Hearts, roses, and lock designs.
- Summer: Suns, ice pops, and beach scenes.
These make excellent custom decorations or handmade gifts. Hang them on garlands or use them as ornaments.
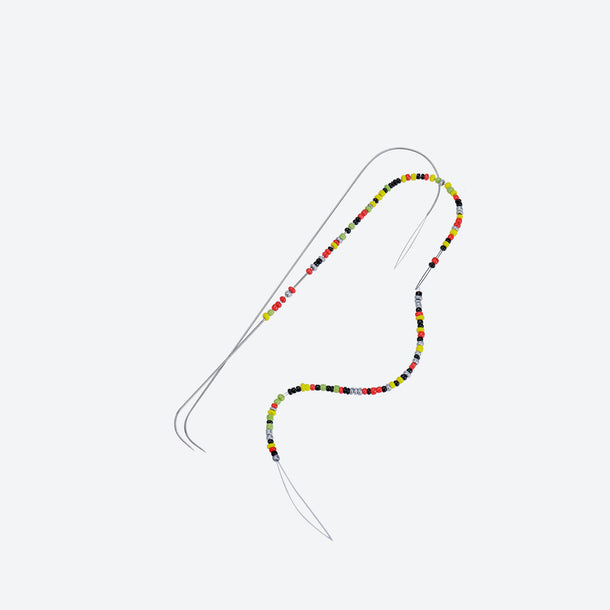
6. DIY Jewelry and Wearable Bead Art
Melty beads aren’t just for static designs — they can also become stylish accessories. Using smaller beads gives you lightweight and durable creations.
Jewelry ideas:
- Round hoop earrings in rainbow tones.
- Heart or lightning bolt pendants.
- Pixel necklaces and anklets.
- Bracelets with gradient or letter patterns.
- Bead rings made with clear elastic thread.
Helpful tip: Use mini beads for neat, proportional results. To keep jewelry flexible, fuse lightly so holes remain open for threading.
7. Advanced Gradient and Multilayer Art
If you want to create artwork that looks detailed or lifelike, try working with gradients and layering techniques. These make your pieces look like pixel paintings.
Techniques for advanced crafters:
- Use multiple bead shades in each tone range.
- Blend dark to light color patterns gradually.
- Add translucent or glow beads for lighting effects.
- Layer one pattern over another for background depth.
Design ideas:
- Portraits of people or pets.
- Landscapes or sunsets.
- Waves, mountains, or galaxy scenes.
- Abstract or geometric designs.
Layered and gradient work shows skill and creativity while producing wall-worthy crafts.
Shop Related Products

Expert Tips for Perfect Melty Bead Results
Choose the Right Beads
- Use reliable bead brands that melt evenly.
- Avoid mixing incompatible brands with different melting points.
- Test a small patch first before committing to large areas.
- Mini beads work best for detailed designs, while regular beads simplify large ones.
Ironing the Right Way
Good ironing separates an average design from a flawless one.
Ironing steps:
- Lay parchment paper over your beads.
- Use medium heat and no steam.
- Move in small, circular motions for even heat.
- Check frequently to avoid over-melting.
- Cool under a book or flat surface to prevent warping.
Always iron both sides for stronger, smoother results.
Staying Organized
Melty bead projects can get messy if colors mix or spill. Keep everything arranged before starting.
Organizing tips:
- Sort beads by color into craft trays or boxes.
- Label sections clearly.
- Use tweezers for small designs.
- Plan large projects on grid paper or using online pattern planners.
You’ll save hours and reduce mistakes just by staying planned and neat.
Displaying and Preserving Your Bead Art
Once your cool melty bead designs are done, you’ll want them to look great and last a long time.
How to display:
- Frame your favorite flat art pieces.
- Mount larger projects on foam boards for stability.
- Display 3D builds on lighted shelves.
- Add magnetic strips or hooks for fridge and wall use.
Preservation tips:
- Keep art away from direct sunlight to prevent fading.
- Use clear craft sealants to protect the surface.
- For long-term storage, place finished pieces flat between parchment sheets.
Why Melty Bead Crafts Are Good for You
Crafting with melty beads is more than a hobby. It’s relaxing, creative, and rewarding at any age.
Benefits for kids:
- Improves motor skills and hand-eye coordination.
- Strengthens focus and patience.
- Encourages experimenting with shapes and colors.
Benefits for adults:
- Reduces stress through relaxing, repetitive motion.
- Boosts creativity in design thinking.
- Builds discipline and attention to fine detail.
Crafting regularly can become both a fun pastime and a mindful, calming habit.
Advanced Design Challenges
If you’re ready to push your skills further, try themed challenges that let you explore new ideas.
Cool project themes:
- Create a full wall mural piece by connecting multiple boards.
- Design a layered shadow box with translucent backgrounds.
- Build interactive 3D bead scenes.
- Create “illusion art” that changes shape from different angles.
You’ll find these projects rewarding and great for improving precision and artistic flow.
Conclusion
Cool melty-bead designs are an exciting way to blend creativity, patience, and skill into a hobby anyone can enjoy. From quick mini projects to advanced 3D builds and portraits, these designs let you explore endless art possibilities.
Whether you want to decorate, gift handmade art, or challenge yourself with multi-board creations, every pattern you finish will feel rewarding.
Start creating, stay patient, and let your creativity shine one bead at a time.
FAQs: Cool Melty Bead Designs
What makes a melty bead design look “cool” instead of basic?
A design looks more polished when it has high contrast, clean outlines, and smooth color ramps. Adding shading or dithering creates depth and layered backgrounds make the art stand out. Keep shapes clear enough to read from a distance, and fuse both sides for a professional finish.
How do I keep large designs from shifting before ironing?
The best method is taping. Place painter’s tape across the beads, flip the whole piece, remove the pegboard, and iron through parchment paper. This keeps the design stable during transfer, and many crafters recommend it for big projects that might fall apart.
Which beads are best for detailed designs and portraits?
Mini fuse beads are ideal for detailed work because they allow smoother gradients and finer lines. Standard beads are sturdier, making them better for coasters, keychains, and 3D builds. Many artists use both types depending on the project’s needs.
Why do my edges curl or my piece bow after ironing?
Curling happens when heat or pressure is uneven. Flip the piece and lightly fuse the back to balance the tension, then press it under a heavy book while it cools. Use medium heat and keep the iron moving in circles to avoid hotspots.
Do I need to seal melty bead art?
Most flat designs don’t need sealing if both sides are fused well. For pieces that get handled a lot, like keychains or 3D parts, you can spot-seal seams with glue. Avoid heavy sealants that cover the pixel look and change the design’s style.
How do I design my own cool patterns without a template?
Start by sketching on graph paper or in a pixel art app. Limit your palette, block in shadows first, then add highlights for depth. Keeping a swatch board of your favorite color ramps helps designs look consistent across projects.
What board size should I use for layered wall art and dioramas?
It’s best to keep each layer within a single board for smooth fusing. After ironing, stack the layers with foam spacers to create dimension and use small registration marks to align them. Framing in a shadow box keeps the art dust-free and prevents warping.


How do I get replacement beads