Perler beads are one of the most creative and budget-friendly crafts you can try. They’re tiny plastic beads that you place on a pegboard to form a pattern, then fuse with heat to lock the design in place.
Whether you’re a parent looking for a fun indoor activity for kids, a crafter searching for a new hobby, or someone who just wants to make colorful decorations, learning how to use Perler beads is easy and rewarding.
This guide explains everything you need to know, from supplies to ironing techniques, along with project ideas and tips to help you master this craft.
Quick Guide 💡:
If you just want the basics, here’s a short overview:
- Perler beads are plastic fuse beads that melt together with heat.
- You’ll need beads, pegboards, ironing paper, and an iron.
- Create a design by placing beads on a pegboard.
- Cover with ironing paper and gently iron until beads fuse.
- Let it cool, remove from the board, and your project is ready.
- Use them for coasters, keychains, jewelry, or decorations.
You May Want to Shop Perler Beads
Key Features
- 200+ App Patterns: Access over 200 pre-loaded designs in the Caydo Art Design App, with new patterns added monthly. Create pixel art, charms, and décor in one click.
- Smart Color Guidance: The app generates numbered bead maps that match Caydo’s 36 colors, making crafting easy for kids and beginners. No design skills needed.
- Safe, Child-Friendly Materials: Made with CPC-certified, non-toxic beads that melt smoothly without fumes. Colors stay bright and durable, safe for ages 6 and up.
- Creative Gift for Kids: Encourages focus, patience, and fine motor skills. Comes in premium packaging, perfect for birthdays, holidays, classrooms, or family crafts.
- Complete 10,000pcs Starter Kit: Includes 36-color 5mm fuse beads with storage, mini iron, heat mat, 20 ironing papers, 2 pegboards, 10 hooks, 10 ropes, 2 tweezers, and user manual—everything ready to start.
What Are Perler Beads?
Perler beads, sometimes called fuse beads, melty beads, or Hama beads, are small cylindrical plastic beads made from low-density polyethylene. When heat is applied, the beads soften and bond together, creating a solid piece of art.
Originally introduced in the 1960s, these beads have grown into a popular crafting activity worldwide.
Kids love them because they’re colorful and simple to use. Adults enjoy them too because they allow for detailed, pixel-style designs that resemble retro video game graphics.
The combination of creativity, accessibility, and versatility is what makes Perler beads a timeless craft.
Common uses include:
- Standalone pixel art or framed pieces.
- Functional crafts like coasters, magnets, or keychains.
- 3D designs built by layering pieces together.
Their flexibility and wide color range make Perler beads a favorite for both kids and adult crafters. Each project brings the satisfaction of creating something from scratch with just a handful of tiny beads.
🧶 Also Read: Mini Cute Perler Bead Ideas For Fun And Easy Crafting
Supplies You Need to Get Started
Before you begin, gather the following materials:
- Perler beads – Available in multi-color sets, mini sizes for detailed work, or themed packs like Minecraft.
- Pegboards – Flat boards with small pegs where beads are placed. They come in square, round, or shaped versions.
- Ironing paper – A heat-resistant paper that protects beads from direct contact with the iron. Parchment paper works as a substitute.
-
Iron – A standard household iron is needed to fuse the beads.
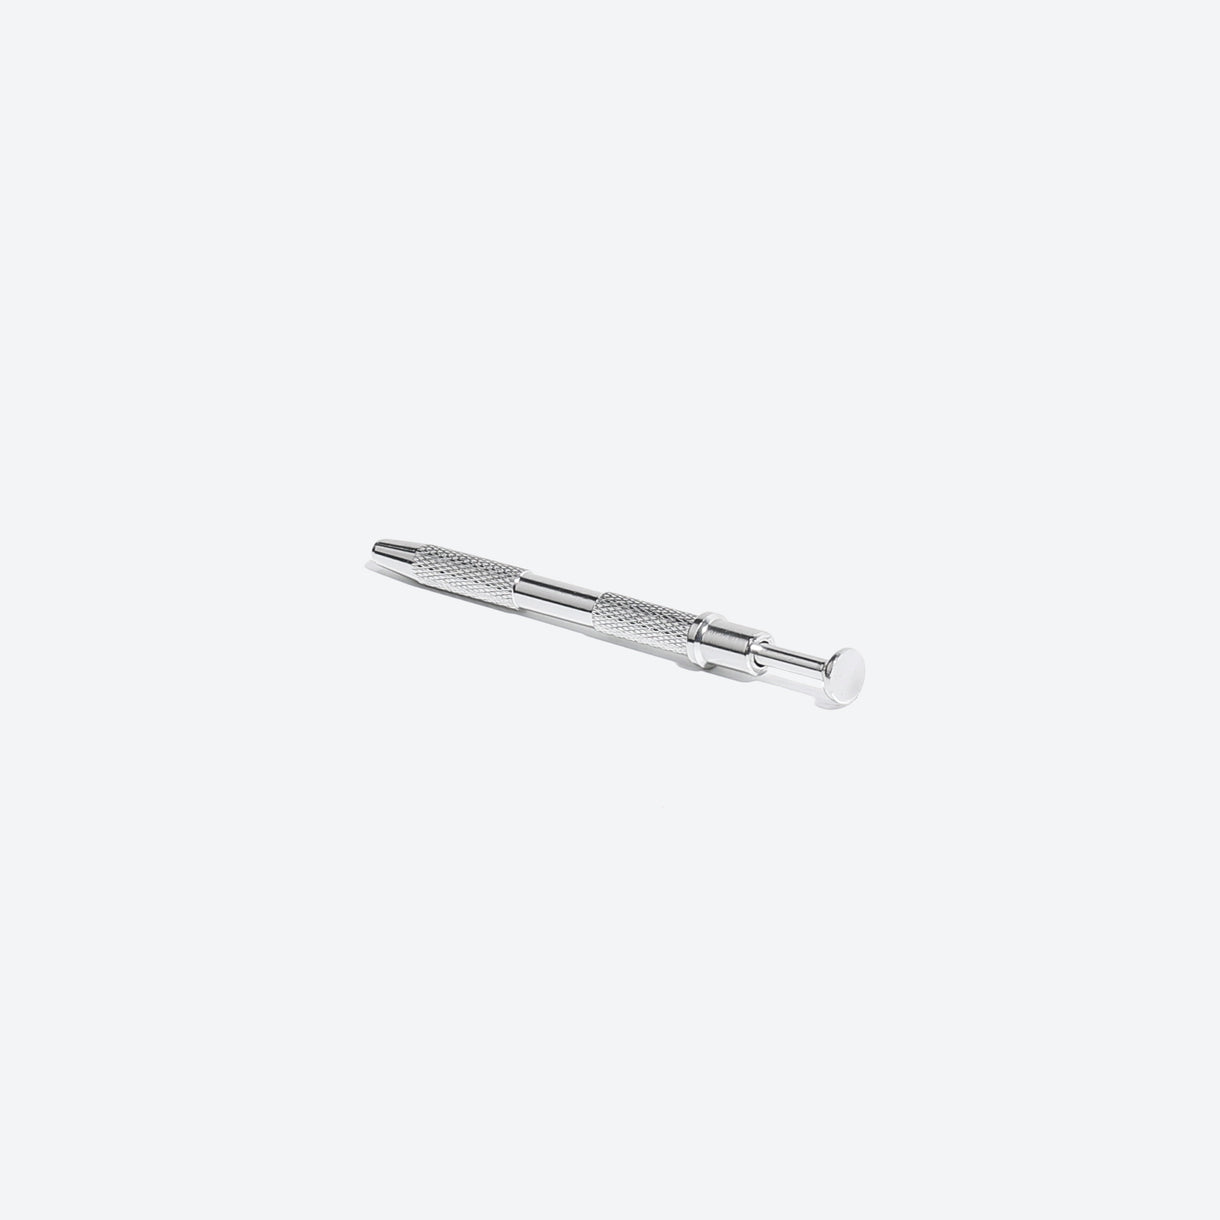
- Tweezers (optional) – Helpful for picking up and placing beads in tight patterns.
👉 You can find affordable bead sets and accessories here:
Step-by-Step Guide: How to Use Perler Beads

Creating with Perler beads is a simple yet detailed process that rewards patience. Follow these steps for great results every time.
Step 1 – Choose Your Design
The first step is deciding what to make. You can:
- Use pre-made pattern templates from books or websites.
- Download pixel art designs (these translate well into bead projects).
-
Create your own design freehand on a pegboard.
Beginners usually start with simple shapes like hearts, stars, or animals. If you’re into themed projects, sets like Minecraft Perler beads are great for pixel-style characters and structures.
Step 2 – Place Beads on the Pegboard
Once you have your design, start placing the beads onto the pegboard. Each bead sits on a peg, and together they form your image.
Tips for this step:
- Work slowly and carefully to avoid knocking beads over.
- Use tweezers if you’re working with mini beads or detailed patterns.
- Start from the center and move outward to reduce mistakes.
Step 3 – Prepare for Ironing
When your design is complete, it’s time to fuse it.
- Place a sheet of ironing paper or parchment paper over the beads.
- Make sure the paper covers the entire design.
- Preheat your iron to a medium setting (around 2 or 3 dots depending on your iron).
Avoid high heat, as this can over-melt the beads and warp your design.
Step 4 – Fuse the Beads with Heat
Now comes the fun part—melting the beads together.
-
Gently press the iron onto the ironing paper.
- Move the iron in small, circular motions to distribute heat evenly.
- Check progress by lifting the paper slightly. The beads should look melted at the edges and connected to each other.
You don’t need to completely flatten them. The goal is to fuse them while keeping the bead shape visible.
Step 5 – Cool and Remove
After ironing:
- Allow the design to cool for a minute.
- Carefully peel away the ironing paper.
- Gently remove the fused design from the pegboard.
For extra durability, flip the design, cover it with paper again, and iron the back. This makes the piece stronger and less likely to break.
🧶 Also Read: Minecraft Perler Bead Patterns For Fun And Creative Crafting
Tips for Beginners
If you’re new to Perler beads, keep these tips in mind:
- Supervise kids during the ironing step. Only adults should handle the iron.
- Start small with easy designs before moving to complex pixel art.
- Sort beads by color in containers. This saves time and keeps things organized.
- Use clear pegboards if you want to place them over printed patterns.
- Don’t over-iron. Too much heat can warp boards or make beads lose their shape.
Shop Related Products
Creative Project Ideas with Perler Beads
✨Jewelry and Accessories
- Make earrings, necklaces, or bracelets using mini beads.
- Create personalized keychains for gifts.
✨Home Décor
- Craft colorful coasters for your coffee table.
- Make fridge magnets by gluing a magnet on the back of a design.
- Create wall art pieces by framing larger projects.
✨Holiday Decorations
- Make Christmas ornaments like snowflakes or stockings.
- Design Easter eggs or Halloween pumpkins.
✨Themed Creations
- Use Minecraft Perler beads to recreate characters, tools, or building blocks.
- Try video game icons, cartoon characters, or pixel animals.
How to Store and Care for Perler Bead Creations
Finished projects are sturdy, but proper care helps them last longer.
- Keep them away from direct sunlight to avoid fading.
- Store them flat in a box to prevent warping.
- For items that get handled often (like keychains), add a thin coat of craft glue or resin for strength.
🧶 Also Read: How To Iron Perler Beads For Smooth And Creative Designs
Common Mistakes and How to Avoid Them
Even experienced crafters make mistakes. Here’s what to watch out for:
-
Overheating beads – Causes them to lose their shape. Always use medium heat.
-
Uneven fusing – Happens when the iron isn’t moved evenly. Use gentle circles.
-
Beads sticking to paper – Usually caused by wax paper or high heat. Stick to parchment paper or ironing paper.
- Warped pegboards – Let boards cool before reusing, and avoid pressing too hard with the iron.
Conclusion
Learning how to use Perler beads is straightforward, but the possibilities are endless. With just beads, a pegboard, paper, and an iron, you can create everything from simple hearts to detailed video game art.
This craft is not only fun but also educational, making it perfect for kids and adults alike.
With practice, you’ll discover new techniques, invent your own designs, and enjoy the satisfaction of turning tiny beads into lasting works of art.
FAQs: How to Use Perler Beads
Do you need an iron to use Perler beads?
Yes, an iron is the standard tool for fusing Perler beads. It provides steady, even heat that melts the beads together safely through parchment paper. Some crafters use alternatives like a heat press, but ironing is the easiest and most reliable method.
What age is safe for Perler beads?
Perler beads are recommended for children ages 6 and older. They are small and can be a choking hazard, so adult supervision is always important. Younger children should only use them with larger bead sets designed for early ages.
Can I reuse pegboards?
Yes, pegboards are reusable and can last through many projects. Just make sure not to apply too much heat while ironing, as it can warp or melt the board. With proper care, one pegboard can handle dozens of builds.
Why do my Perler beads keep sticking to the paper?
This happens when the iron is too hot or pressed for too long. Lower the heat setting and use gentle, even pressure in small circles. Always use fresh parchment or ironing paper to prevent beads from sticking.
Where can I find Perler bead patterns?
Patterns are widely available online, in craft books, and through themed sets. Many websites and communities share free designs, from simple animals to complex sprites. You can also find licensed kits, such as Caydo’s Minecraft Perler bead collection, which come with ready-made templates.


