Have you ever picked up your crochet project and noticed the edges curling or the whole piece looking a little wavy? It can be puzzling when your hard work doesn’t turn out flat and neat.
Curling is a common hiccup in crocheting, but the great news is there are simple ways to fix it and even prevent it from happening again.
If you’re wondering, “Why is my crochet curling?”, read on to discover what’s causing it and how you can enjoy smooth, beautiful projects every time!
Why Is My Crochet Curling? Common Signs and What It Looks Like
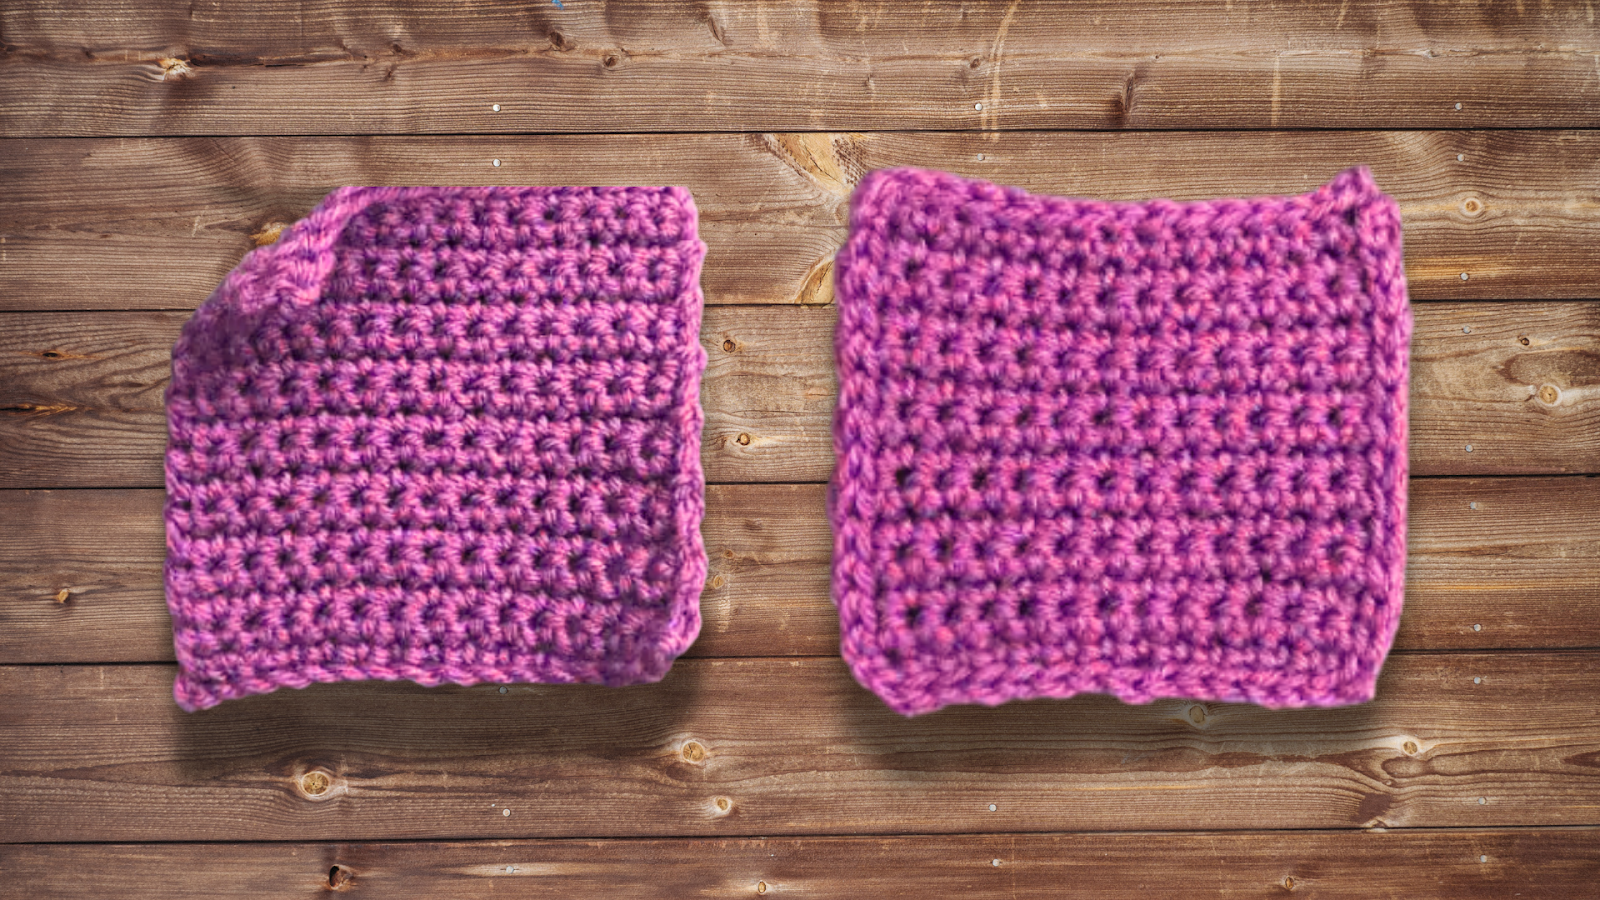
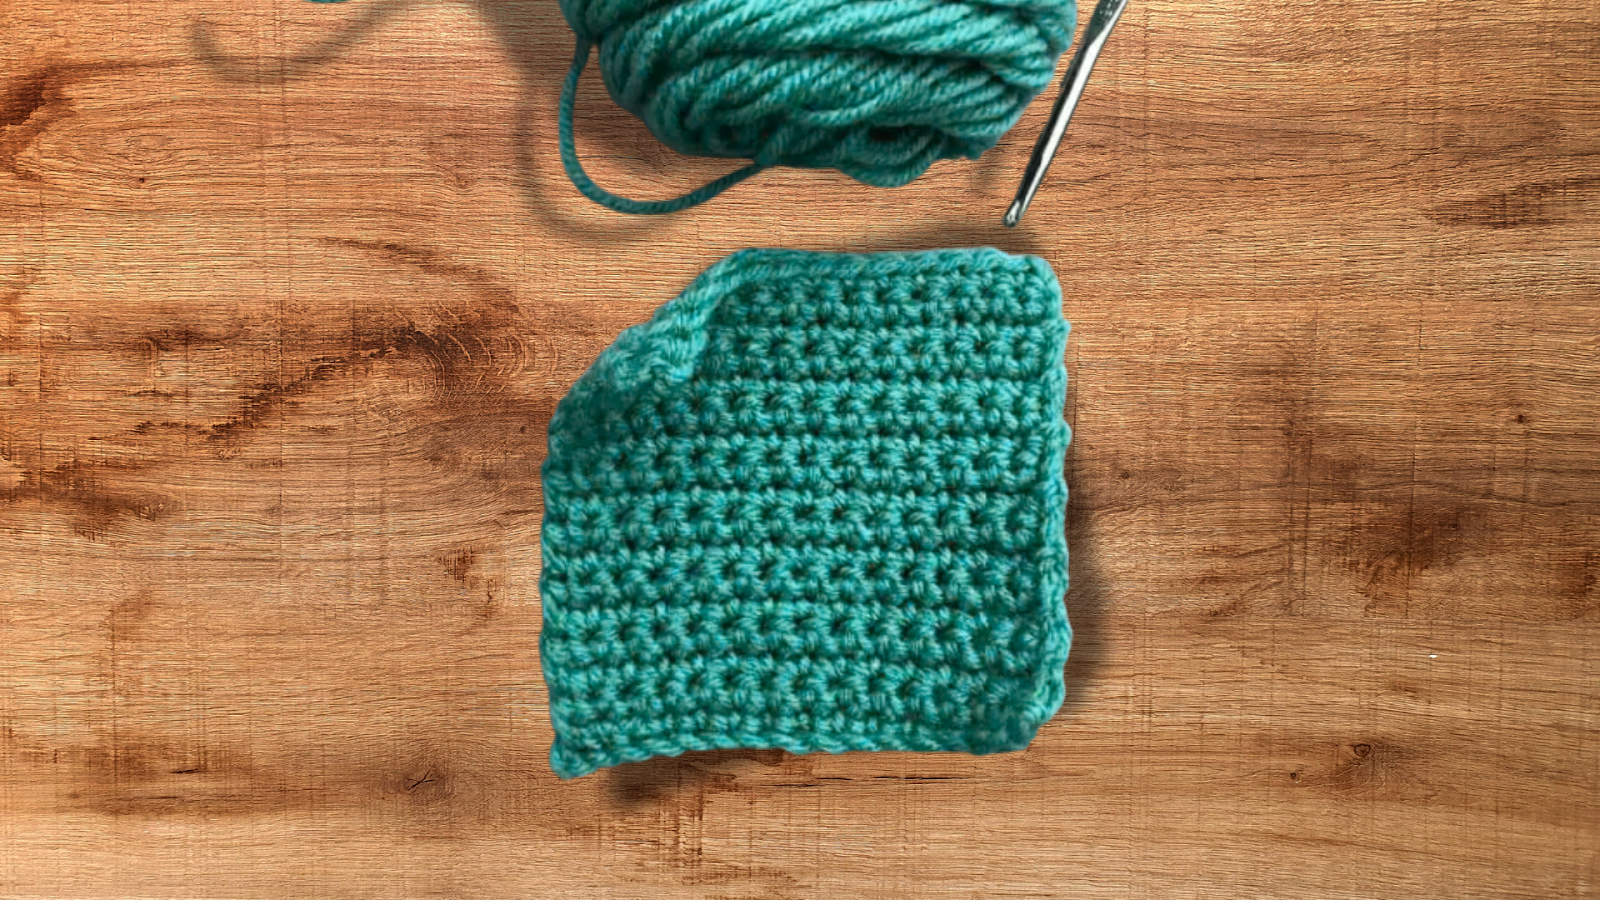
When your crochet curls, you might see the edges lifting, corners rolling, or your project turning wavy instead of lying flat.
This can happen with blankets, squares, scarves, circles, or even small amigurumi toys. Sometimes, the ends of your work curl up like a scroll, or the center of a circle won’t stay flat no matter how much you tug at it.
Curling can make it tricky to sew pieces together or use your finished project. But do not worry, curling is a normal problem, and there are plenty of ways to fix it.
8 Reasons Your Project Won’t Lay Flat
Let’s break down the most common reasons your crochet curls up. Each one has an easy fix, so you can get back to enjoying your craft!
1. Tension Troubles: Too Tight or Too Loose
One of the biggest reasons for curling is tension. If you crochet too tightly, your stitches pull together and the fabric curls.
If your stitches are too loose, your project might get wavy or floppy. The trick is to keep your tension even, not too tight and not too loose.
2. Using the Wrong Hook Size
The size of your crochet hook matters a lot. If your hook is too small for your yarn, your stitches will be tight and stiff, causing curling. If it’s too big, your work might stretch out and lose its shape.
💡 Note: Check your yarn label for the recommended hook size, and don’t be afraid to experiment.
3. Stitch Count Mistakes
Missing or adding extra stitches by accident can make the edges of your project curl or ripple. It’s easy to lose track, especially on long rows or in complicated patterns. Counting your stitches at the end of each row can help keep your work straight and flat.
4. Incorrect Turning Chains
Turning chains are the little chains you make at the start of a new row. If you use the wrong number, your edges can curl or look uneven.
Each stitch type usually needs a certain number of turning chains, but some patterns adjust the turning chain count for a cleaner edge, so always check your pattern notes.
5. Stitch Pattern Choices
Some stitch patterns naturally curl more than others. For example, single crochet and ribbing can curl up at the edges, especially if you’re working tightly. Mixing up your stitches or adding a border can help flatten things out.
📌 Don’t forget to check out different stitch options to see which ones work best for your project.
6. Yarn Type and Fiber Content
Different yarns behave differently. Cotton yarn tends to be stiffer and might curl more, while wool is stretchier and usually lays flatter.
Acrylic yarn can go either way, depending on the brand and how it’s spun. If you’re having trouble, try switching to a softer or stretchier yarn.
7. Not Blocking Your Crochet
Blocking is a way to shape your finished project using water and pins. Blocking works best on natural fibers like wool and cotton. For acrylic yarn, steam blocking can help, but results may vary.
If you skip this step, your crochet might curl, especially if it’s made with natural fibers. Blocking helps your stitches relax and your work lay flat.
8. Edging and Border Issues
If you forget to add a border or your edges are uneven, your project might curl up. A neat, even border can help hold everything in place, flatten edges, and even hide small mistakes along your rows.
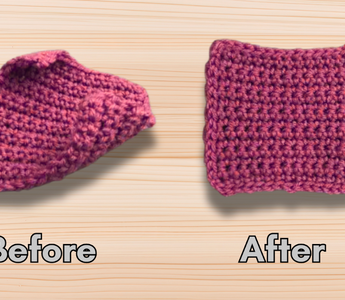
How to Fix Curling Crochet: Easy Step-by-Step Solutions
Ready to flatten your crochet? Here are some simple ways to fix curling, no matter what you’re making.
✅ Adjust Your Tension
Try holding your yarn a little more loosely, or practice making your stitches more even. If you notice your hands getting tight, take a break and shake them out. Practicing with scrap yarn can help you find the right tension.
✅ Change Your Hook Size
If your work is curling, try using a bigger hook to loosen your stitches. If it’s too floppy, switch to a smaller hook. Make a small swatch first to see how the new size feels.
✅ Count Your Stitches Every Row
After you finish each row or round, count your stitches to make sure you haven’t added or missed any. Using stitch markers at the start and end of rows can help you stay on track.
✅ Double-Check Your Turning Chains
Look up how many turning chains you need for the stitches you’re using. For example, a single crochet usually needs one chain, while a double crochet needs three.
Some patterns may adjust this number for a neater edge, so always follow your pattern’s instructions. Putting your first stitch in the right spot helps keep your edges straight.
✅ Block Your Finished Project
Lay your crochet flat on a towel, spray it with water, and gently stretch it into shape. Pin it down and let it dry. Blocking works best with natural fibers, but for acrylic yarn, steam blocking can help. Just be careful not to melt the fibers by keeping the iron above the yarn.
✅ Add a Border or Edging
Crochet a simple border around your project, like single crochet or half double crochet. Borders help hold the edges flat and can cover up any uneven spots or minor mistakes.
✅ Choose a Different Yarn
If you keep having trouble, try a yarn with more stretch or softness. Sometimes just changing yarns can make a big difference.
📌 Don’t forget to browse this helpful guide if you want to learn more about crochet basics and tips.
How to Prevent Crochet Curling in Your Next Project
Stopping curling before it starts is the best way to enjoy your crochet projects. Here’s how:
- Make a gauge swatch before starting. This little square helps you check your tension and hook size.
- Read your pattern carefully. Look for notes about stitch counts, turning chains, or special borders.
- Check your work as you go. If you see curling, fix it right away instead of waiting until the end.
- Practice new stitches on small samples first. Some patterns curl more than others.
📌 Want to try new techniques? Check out these crochet technique ideas for more inspiration.
Conclusion
Curling is a common part of learning crochet, but with a few simple tweaks, your projects can lay flat and look fantastic.
If you want more helpful guides and tips about crocheting or even knitting, Caydo has you covered with plenty of resources for every skill level.
Also, don’t forget to browse and shop Caydo for high-quality crochet kits, supplies, yarns, and even crochet machines.
You will find everything you need to make your next project a success. Happy crocheting!
You May Shop
Frequently Asked Questions
How do I stop my crochet from curling?
To stop your crochet from curling, first check your tension and make sure you’re not working too tightly. Double-check your stitch count and use the right number of turning chains for your pattern. Adding a border or blocking your finished project can also help flatten out any curls.
How do you flatten a curled crochet?
Flattening curled crochet is easy with blocking. Lay your project flat, spray it lightly with water, and gently stretch it into shape. Pin it down and let it dry completely. Adding a simple border around the edges can also help keep your crochet flat.
Why won't my crochet lay flat?
If your crochet won’t lay flat, it might be because of tight tension, a wrong hook size, or missed stitches. Some yarns and stitch patterns are also more likely to curl. Try adjusting your tension, changing your hook, or blocking your work to help it lay flat.
Why won't my crochet stay straight?
Crochet that won’t stay straight can be caused by uneven stitch counts or turning chains. Make sure you’re counting your stitches at the end of each row and using the right number of turning chains. Practicing even tension and adding a neat border can help keep your edges straight.


I come so far and see, that you did well explain the matter in rectangular pieces yet I do not see for the circle crochet.. would you please indicate me?
Very much obliged!