
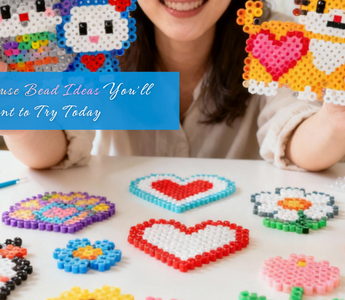
Fuse beads are one of the most enjoyable crafts for beginners and experts alike.
These tiny plastic beads can be arranged on pegboards and melted together with heat to form colorful art pieces, keychains, magnets, and decorations.
Whether you’re looking for adorable designs to create with your kids or relaxing DIY projects to enjoy yourself, cute fuse bead ideas offer endless creativity.
In this guide, you’ll find 25 fun design ideas, practical tips for perfect melting, and inspiration to help you get started on your next bead project.
Quick Guide 💡:
- Fuse bead crafts are a great hobby for all ages.
- You only need beads, pegboards, paper, and heat to get started.
- You can make cute animals, food art, letters, or small home decorations.
- Perfect for developing creativity, focus, and color coordination.
- High-quality bead sets from Caydo provide the best colors and melting results.
You May Want to Shop Fuse Beads

Caydo 10,000pcs Fuse Bead Starter Kit
Key Features
- 200+ App Patterns: Access over 200 pre-loaded designs in the Caydo Art Design App, with new patterns added monthly. Create pixel art, charms, and décor in one click.
- Smart Color Guidance: The app generates numbered bead maps that match Caydo’s 36 colors, making crafting easy for kids and beginners. No design skills needed.
- Safe, Child-Friendly Materials: Made with CPC-certified, non-toxic beads that melt smoothly without fumes. Colors stay bright and durable, safe for ages 6 and up.
- Creative Gift for Kids: Encourages focus, patience, and fine motor skills. Comes in premium packaging, perfect for birthdays, holidays, classrooms, or family crafts.
- Complete 10,000pcs Starter Kit: Includes 36-color 5mm fuse beads with storage, mini iron, heat mat, 20 ironing papers, 2 pegboards, 10 hooks, 10 ropes, 2 tweezers, and user manual—everything ready to start.
Why Fuse Beads Make Perfect Crafts
Crafting with fuse beads is relaxing, colorful, and rewarding. The process encourages patience and improves fine motor skills, especially for children. These crafts are inexpensive and versatile, making them ideal for parties, classrooms, or simply a quiet creative outlet.
Benefits of fuse bead crafting:
- Boosts creativity and pattern recognition.
- Enhances focus and hand-eye coordination.
- Encourages artistic confidence in kids and adults.
- Produces practical, gift-worthy projects.
- Offers a simple way to unwind and reduce stress.
Even simple shapes can look amazing when arranged with bright, pastel, or gradient beads.
Basic Supplies You Need
Before you start creating, prepare the essential materials:
Core materials:
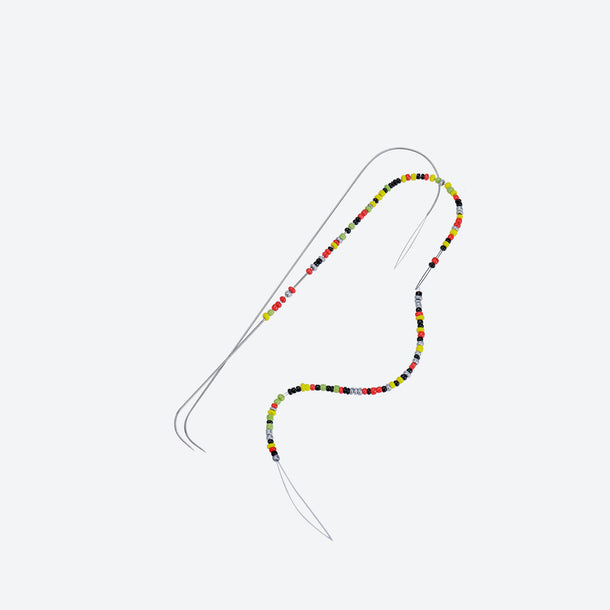
- Fuse beads
- Pegboards (square, round, or themed shapes)
- Parchment paper for ironing
- An iron or heat press
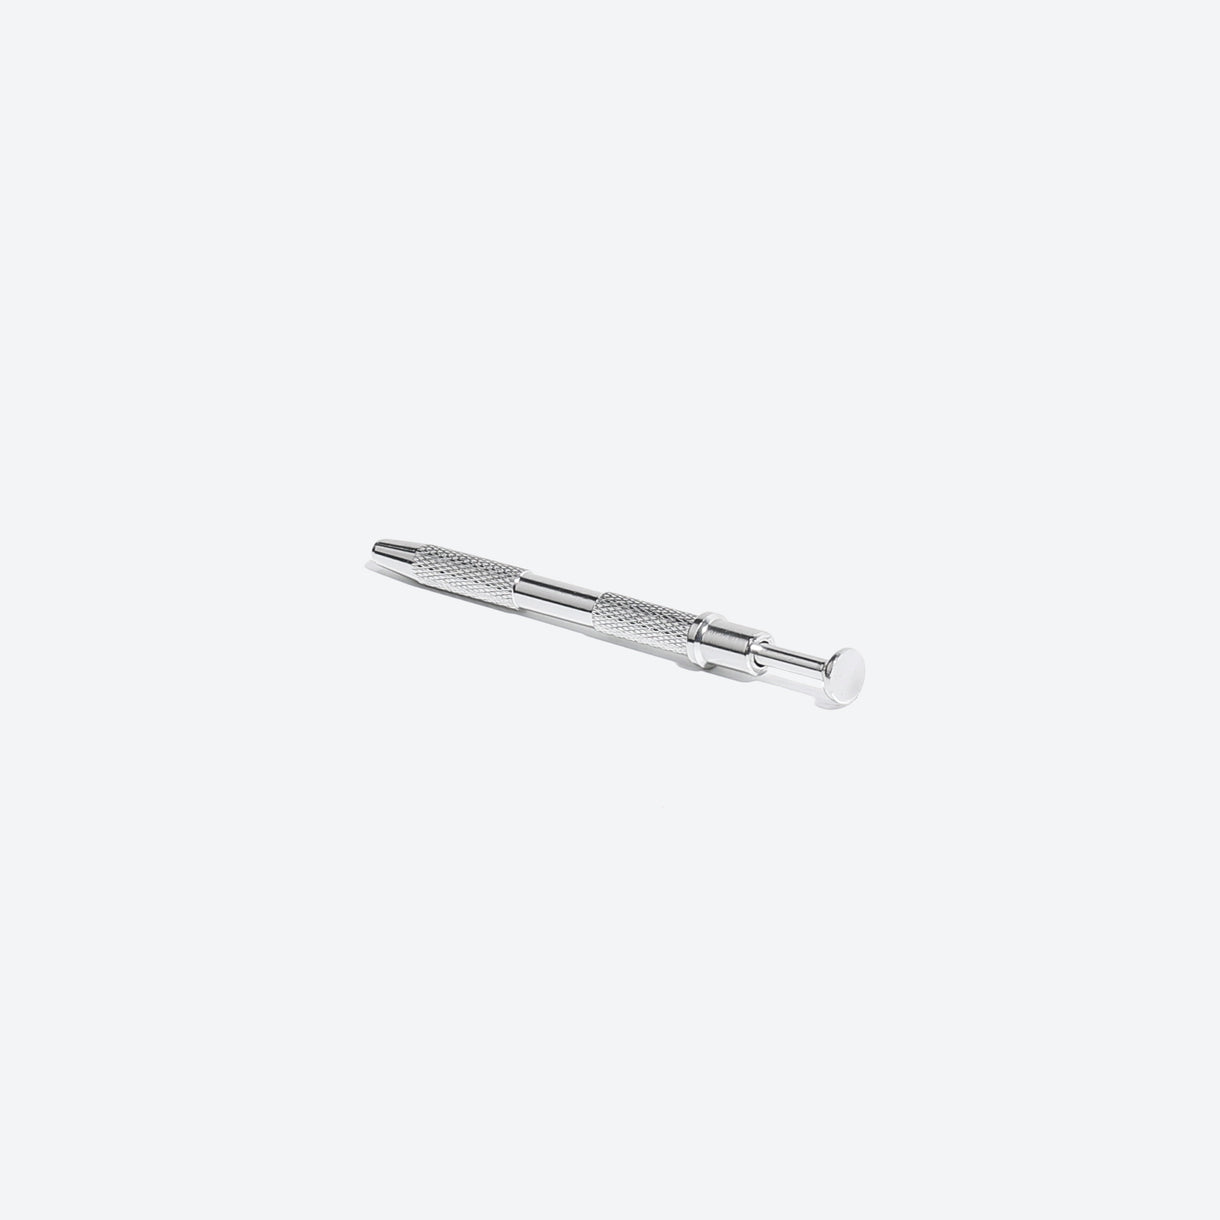
- Tweezers for precision bead placement
Optional materials:
- Keychain rings or magnets
- Jump rings or chains for jewelry
- Frames, glue, or hooks for wall décor
- Clear sealant for a polished finish
How to Fuse Beads Step by Step
- Choose a pattern. Pick a design that fits your skill level. Small hearts, animals, or food icons are great to start with.
- Lay out beads. Arrange them on your pegboard carefully. Tweezers help with mini designs.
- Cover with parchment paper. This prevents the beads from sticking to your iron.
- Heat evenly. Iron in a circular motion for 10 to 15 seconds on medium heat.
- Cool and flip. Let your design cool before removing it. Flip it over, cover again, and iron lightly on the back for durability.
Your design is now fused and ready to display or decorate.
Shop Related Products

25 Cute Fuse Bead Ideas to Try

1. Small Animal Designs
Everyone loves animal crafts. These are perfect for beginners.
Ideas:
- Cats, dogs, bunnies, or bears
- Sea creatures like dolphins or turtles
- Butterflies or birds
Tip: Dark outlines help your animals look more defined.
2. Food-Themed Designs
Turn your favorite snacks into colorful bead creations.
Cute options:
- Ice cream cones, cupcakes, and donuts
- Pizza slices or burgers
- Fruits like cherries, strawberries, and pineapples
Use pastels and bright tones for extra charm.
3. Emoji and Face Icons
Make cheerful expressions that can double as keychains.
Ideas:
- Smileys and winks
- Heart eyes or blushing faces
- Cute monsters or bears
They fuse quickly and look adorable in any color combination.
4. Floral and Nature Art
Nature themes bring positivity and fresh energy to your space.
Designs:
- Roses, sunflowers, and tulips
- Small potted plants or cacti
- Bees buzzing next to flowers
Frame several designs together to create a small garden scene.
5. Kawaii-Inspired Characters
Add cute Japanese-style charm to your projects.
Try:
- Chubby animals with big eyes
- Smiling stars, clouds, or suns
- Characters holding tiny hearts or fruits
Use soft pastel colors for a classic kawaii look.
6. Seasonal Crafts
Create décor that fits holidays and celebrations.
Ideas for every season:
- Christmas trees, stockings, and snowflakes
- Easter eggs and chicks
- Halloween pumpkins and ghosts
- Valentine hearts with names
Attach ribbons or magnets to make them reusable each year.
7. Simple Hearts and Stars
Hearts and stars never go out of style. Try mixing rainbow colors or blending shades from light to dark.
You can make them into jewelry pendants or charms for school bags.
8. Fruit-Inspired Projects
Fruits are bright, colorful, and easy patterns for beginners.
Fun projects:
- Watermelon slices and bananas
- Strawberries or lemons
- Peach or grape clusters
Add a touch of white or transparent beads for realistic shine.
9. Rainbow Theme Art
Rainbows bring happiness to any design. Arrange soft colors in order — red, orange, yellow, green, blue, and purple.
Fuse them into a wall charm, fridge magnet, or sun catcher.
10. Floral Wreaths
Try combining small flowers in a circular shape to create bead wreaths for spring or summer décor.
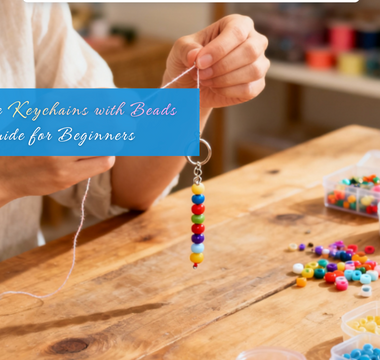
11. Cute Keychain Charms
Make mini designs and attach them to jump rings. Combine hearts, stars, or letters for personalized gifts.
12. Cartoon and Game Characters
Express fandom through bead art.
Examples:
- Mario, Kirby, or Pikachu
- Minecraft tools like axes and swords
- Classic arcade hearts or aliens
Games convert perfectly into fuse bead patterns because of their pixel-style design.
13. Mini Jewelry Designs
Transform tiny bead shapes into fashion pieces.
Ideas:
- Earrings using small stars or fruit shapes
- Bracelets with charm highlights
- Pendants made from mini rainbows
14. Beach and Sea Art
Bring a summer vibe with ocean-inspired shapes.
Designs to try:
- Seashells, crabs, or fish
- Palm trees or surfboards
- Blue waves and sun motifs
15. 3D Mini Boxes
Fuse multiple panels to make tiny storage boxes. Perfect for storing rings, paperclips, or beads.
16. Lovely Faces
Simple circular faces with expressions add charm to walls or notebooks. Use pink beads for cheeks and pastels for backgrounds.
17. Space Themes
Make planets, rockets, astronauts, or stars using bright, cosmic colors.
Black or navy beads create a great background for contrast.
18. Cute Pets
Create portraits of your pets using bead outlines. Dogs, cats, or hamsters make great keepsakes or gifts for friends.
19. School and Office Accessories
Fuse beads into bookmarks, paperclips, or pencil toppers for everyday inspiration.
20. Woodland Animals
Small foxes, owls, hedgehogs, and deers made with warm brown colors look perfect for fall decorations.
21. Fantasy and Magic
Design unicorns, fairies, wizards, and dragons using glitter or glow-in-the-dark beads for extra sparkle.
22. Name Plaques
Create custom nameplates using colorful letters. Add hearts or stars on the sides for decoration.
23. Coffee and Tea Cups
Fuse bead versions of mugs make cozy winter crafts. Add tiny steam lines or phrases like “Warm Up.”
24. Sweet Treats
Make desserts like cookies, popsicles, candy, or chocolate bars. These are cute and quick projects anyone can enjoy.
25. Inspirational Words
Fuse motivational quotes or single words like “Love,” “Joy,” or “Dream.” They make great small gifts or room decorations.
Tips for Better Fuse Bead Projects
- Iron evenly. Move your iron in small circles and avoid pressing too hard.
- Check heat level. Use medium heat for even melting without distortion.
- Cool flat. Place designs under a heavy book while cooling to avoid curling.
- Organize beads. Sort by color to make designs faster.
- Layer effects. Stack or overlap fused pieces to add dimension.
- Add shine. Apply a light coat of clear glaze or craft sealant.
What to Do with Your Finished Cute Fuse Bead Designs
You can transform your completed fuse bead art into practical or decorative items:
- Keychains and bag charms
- Magnets and coasters
- Wall décor or framed art
- Jewelry like earrings or pendants
- Personalized gifts for friends and family
Fuse bead art lets you create items that are as unique as your imagination.
FAQs: Cute Fuse Bead Ideas
What makes a fuse bead design look cute?
Cute designs use round shapes, big eyes with tiny white highlights, and soft pastel colors. Add small blush dots on cheeks, fruits, or animals to boost charm. Keep outlines simple and clean so the face reads well. Using smaller grids helps the details stay crisp.
What size grid should I use for tiny cute icons?
Start with a 10×10 or 12×12 grid for fast mini designs. If you want a little more detail, try 16×16 up to 20×20. For coasters or badges, a two-bead border makes the edge look neat and sturdy. Keep the layout simple so the icon stays readable.
How do I turn cute designs into keychains?
Leave a single bead gap where the key ring will go, then fuse both sides for strength. Add a small jump ring through the hole and attach a split ring for the keys. Keep the finished piece under 7 cm to avoid snagging in pockets or bags. Press it flat while warm so it stays even.
How do I stop warping after ironing?
Warping comes from uneven heat or too much pressure. Flip the piece and lightly fuse the back to balance it, then press under a heavy book while warm. Use medium heat and short passes, moving the iron in small circles. Let it cool fully before removing the weight.


