There’s something special about crafting your favorite Disney characters with Perler beads. It combines the joy of creativity with the magic of childhood.
Whether you’re making Mickey Mouse, Elsa from Frozen, or Buzz Lightyear, Disney Perler bead patterns are fun, colorful, and great for any skill level.
In this guide, you’ll learn everything you need to start creating your own Disney designs, including beginner tips, project ideas, and expert tricks to make your pieces look amazing every time.
Quick Guide 💡:
- Disney Perler bead patterns are perfect for artists, collectors, and families.
- You can make characters like Mickey, princesses, and Pixar favorites.
- Great for room décor, gifts, magnets, or keychains.
- Use quality beads to get detailed color results.
- Caydo’s cool and mini Perler bead sets help you achieve clear, vibrant finishes.
You May Want to Shop Perler Beads
Key Features
- 200+ App Patterns: Access over 200 pre-loaded designs in the Caydo Art Design App, with new patterns added monthly. Create pixel art, charms, and décor in one click.
- Smart Color Guidance: The app generates numbered bead maps that match Caydo’s 36 colors, making crafting easy for kids and beginners. No design skills needed.
- Safe, Child-Friendly Materials: Made with CPC-certified, non-toxic beads that melt smoothly without fumes. Colors stay bright and durable, safe for ages 6 and up.
- Creative Gift for Kids: Encourages focus, patience, and fine motor skills. Comes in premium packaging, perfect for birthdays, holidays, classrooms, or family crafts.
- Complete 10,000pcs Starter Kit: Includes 36-color 5mm fuse beads with storage, mini iron, heat mat, 20 ironing papers, 2 pegboards, 10 hooks, 10 ropes, 2 tweezers, and user manual—everything ready to start.
Why Disney Perler Bead Patterns Are So Popular
Creating Disney designs with Perler beads lets fans connect with their favorite movies through hands-on creativity.
These tiny beads let you recreate famous characters in pixel-style patterns, making every piece look unique and nostalgic.
Here’s why people love making Disney-themed Perler crafts:
- Family-friendly: Perfect for kids and adults to do together.
- Budget-friendly: Materials are inexpensive and widely available.
- Collectible: Ideal for display, trading, or customizing keychains.
- Relaxing and rewarding: Great for stress relief and creative downtime.
Disney’s classic characters are easy to identify thanks to their iconic features, which makes them perfect for transforming into bead art.
Supplies You’ll Need
You don’t need much to start a crafting session. Everything you need might already be in your crafting box.
Essential materials:
- Perler beads (standard, mini, or glow-in-the-dark options)
- Clear or themed pegboards
- Parchment paper (not wax paper)
- Iron or heat press
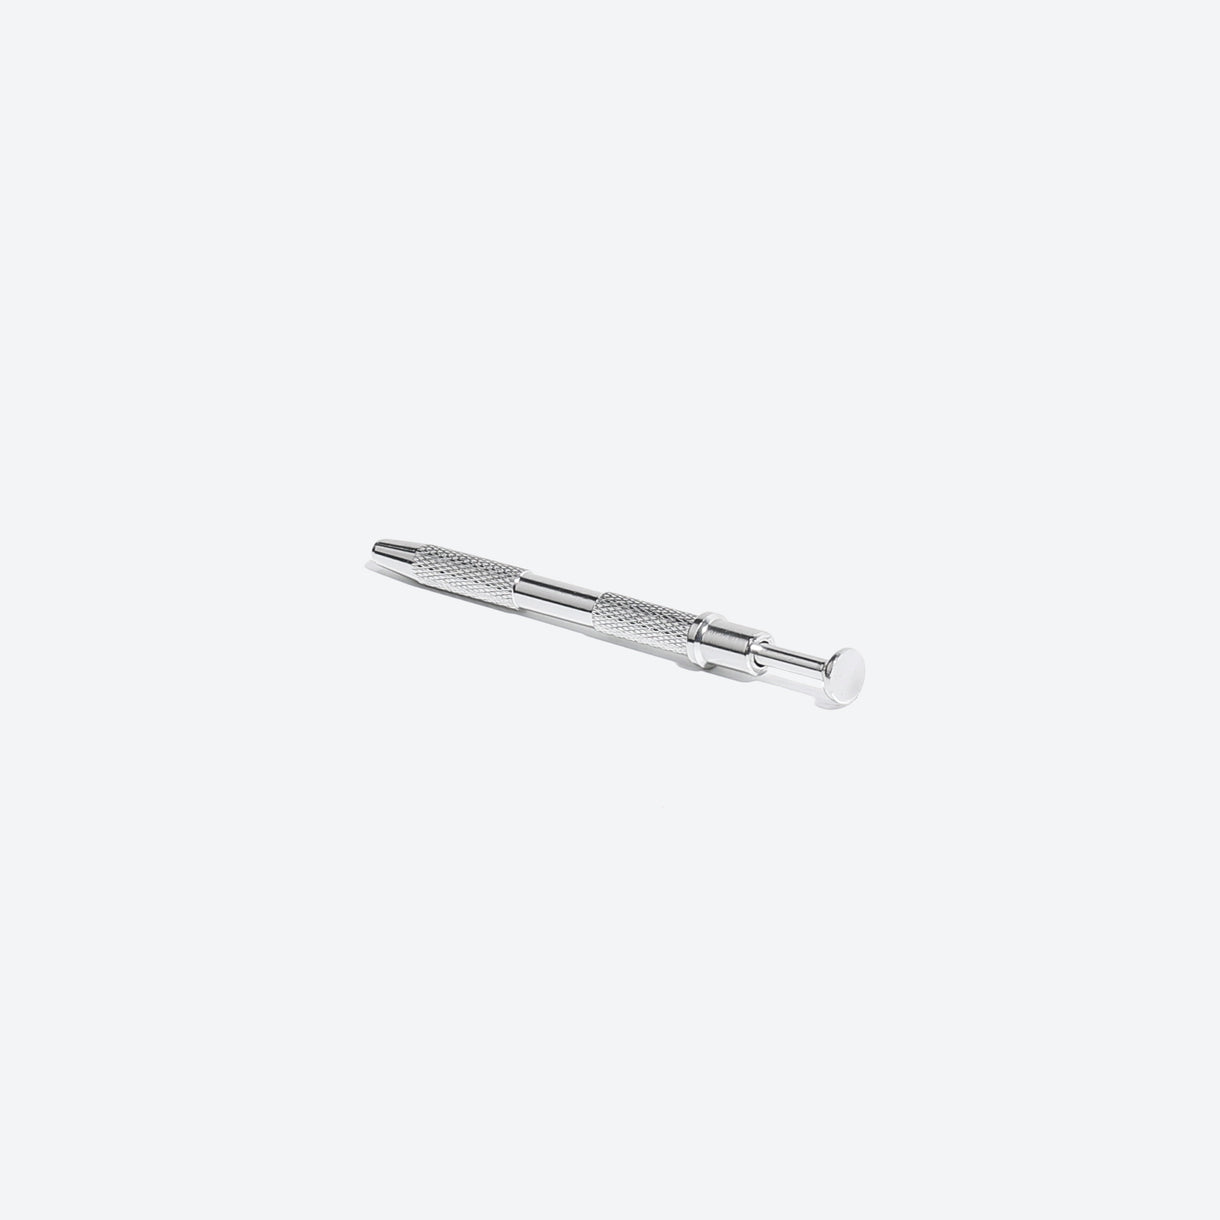
- Tweezers or a bead pen for detailed work
Optional for added creativity:
- Jump rings and chains for keychains
- Magnets for functional designs
- Super glue or epoxy for securing 3D pieces
- Frames or backing for wall display
If you want colorful, high-quality beads, check out:
These sets are designed for consistent melting and bold results, perfect for complex Disney color palettes.
🧶 Also Read: How To Iron Perler Beads For Smooth And Creative Designs
Step-By-Step: How to Make Disney Perler Bead Patterns

Making Disney bead art is simple with the right steps. Start with a chosen design, carefully arrange the beads, fuse them with even heat, and finish your work with clean edges. Each stage helps transform small plastic pieces into art you can keep forever.
Step 1: Pick a Design
Choose your favorite Disney movie or character. Many free designs can be found online, such as 8-bit Mickey, Olaf, or Genie. Beginners can start with small silhouettes or simple color blocks.
Step 2: Set Up Your Pegboard
Arrange your beads on the pegboard following the pattern. If you’re freehanding, follow reference photos to capture character details. Use bright, contrasting colors for outlines and accurate tones for skin, hair, and clothing.
Step 3: Iron Properly
Place parchment paper over the design. Gently iron in small circular motions using medium heat. Once the beads start to fuse, stop and let the piece cool before flipping and lightly ironing the other side.
Helpful tip: Never use high heat. It can cause uneven melting or shrinkage.
Step 4: Cool and Finish
After ironing both sides, let your art cool under a heavy book or flat object to maintain its shape. Then attach magnets, keychains, or decorative frames for display.
Classic Disney Perler Bead Patterns
Classic characters like Mickey, Minnie, and princesses are great starting projects for all crafters. Their bold colors and recognizable shapes make them easy to replicate while keeping that familiar Disney charm.
These timeless designs make perfect decorations, magnets, or gifts.
1. Mickey and Minnie Mouse
Let’s start with the most iconic duo.
Ideas:
- Mickey head silhouette (simple black with red shorts).
- Minnie Mouse with her red and white polka dot bow.
- Mickey and Minnie kissing silhouette.
Pro tip: Add white beads for gloves and yellow for shoes to make the designs pop.
2. Disney Princesses
Princess lovers can capture magic through colorful patterns.
Characters to try:
- Ariel — ocean blues with red hair accents.
- Belle — golden tones with a rosy background.
- Cinderella — cool blue shades and silver outlines.
- Elsa and Anna — perfect for winter palettes.
- Rapunzel — lavender and bright yellow hair beads.
Each design can be framed or fused into hanging ornaments.
3. Pixar Movie Characters
Recreate your favorite Pixar heroes and sidekicks in bright perler bead detail.
Suggestions:
- Woody and Buzz from Toy Story.
- Mike and Sulley from Monsters, Inc.
- Nemo and Dory from Finding Nemo.
- WALL-E with his cute binocular eyes.
- Lightning McQueen for racing collectors.
Using mini beads helps capture Pixar’s colorful shading and facial details.
4. Disney Villains
Disney villains have such bold colors and designs that they translate beautifully into bead art.
Villains to try out:
- Maleficent’s horned silhouette in purple and black.
- Ursula with swirling tentacles.
- The Evil Queen with her crown and mirror.
- Cruella de Vil’s black and white fashion design.
Tip: Mix matte and pearl beads for texture to mimic shadowing.
5. Disney Animal Characters
From talking lions to lovable dogs, Disney’s animal characters are great for beginners.
Ideas:
- Simba with orange and yellow tones.
- Stitch with deep blues and large ears.
- Olaf from Frozen.
- Bambi and Thumper for soft brown palettes.
- Dumbo with pink cheeks and a yellow hat.
These also make adorable magnets or keychain charms.
6. Disney Park-Themed Designs
Bring the magic of Disney parks home through bead crafts.
Creative patterns include:
- Minnie balloon silhouettes.
- Mickey ice cream bar.
- Cinderella Castle.
- Park logo or Mickey’s glove pose.
Frame them as fun reminders of your Disney memories.
🧶 Also Read: Minecraft Perler Bead Patterns For Fun And Creative Crafting
Advanced Disney Perler Projects
Once you’ve mastered the basics, try larger and more detailed creations like castles or full movie scenes. Big projects encourage patience and skill development while producing striking display pieces.
The results are worth the extra time and precision.
Complex Disney art to attempt:
- The Disney castle with fireworks in the background.
- Full princess portraits in pixel detail.
- Beauty and the Beast ballroom scene.
- Pixar logo lamp with the jumping “Luxo Jr.”
- Alice in Wonderland tea party layout.
For large projects, connect pegboards and fuse section by section to avoid warping.
🧶 Also Read: Mini Cute Perler Bead Ideas For Fun And Easy Crafting
Expert Tips for Crafting Perfect Disney Creations
Attention to detail makes every bead design shine. Using even heat, contrast colors, and proper cooling techniques ensures professional-looking finishes.
Following expert methods helps your projects last longer and look brighter.
Choose High-Contrast Colors
Disney characters always rely on strong color combinations. Use light and dark tones together to make small features stand out.
Iron Both Sides Evenly
Flip your design halfway through to fuse both sides neatly. Let it cool under a book to stay flat.
Blend Colors Strategically
Try gradient effects — for example, blue-to-white for Cinderella’s dress, or fiery shades for Maleficent’s flames.
Store Beads by Shade
Organize beads in labeled containers to save time during your next project.
Avoid Overheating
Too much heat will shrink or distort your images. Consistent, medium-pressure ironing works best.
Mount or Frame for Longevity
Once finished, glue large projects onto cardstock or light wood frames for durability.
Shop Related Products
How to Use Your Finished Designs
Your Disney creations can serve as décor, accessories, or keepsakes. Turn them into magnets, framed wall art, or keychains to extend their use beyond the craft table. Displaying them also reminds you of the creative effort that brought each design to life.
Use them as:
- Magnets for the fridge or office board.
- Wall art or gallery collages.
- Party decorations for Disney-themed birthdays.
- Bookmarks with laminated backing.
- Jewelry like necklaces or earrings.
- Keychains or bag charms using jump rings.
You can even make collectible sets for fans or handmade gifts for friends.
Are Disney Perler Beads Good for Kids?
Yes, they are safe if used with proper supervision. Children love building designs, but ironing should always be done by an adult or older teen.
Kid-focused benefits include:
- Fine motor skill development.
- Improved color learning and pattern recognition.
- Encouragement to express creativity through play.
Fuse bead projects can also double as fun educational activities at home or in classrooms.
Conclusion
Creating Disney Perler bead patterns is a fun and rewarding way to bring beloved movie characters into your home. From Mickey and Minnie to Pixar’s lovable heroes, each design adds a touch of nostalgia and creativity to your collection. Whether you craft for fun, display, or gifts, every bead represents a tiny piece of movie magic.
Start your Disney bead adventures with top-quality materials from these collections:
Bring Disney’s magic to life one bead at a time and enjoy every step of this creative journey.
FAQs About Disney Perler Bead Patterns
How difficult are Disney Perler bead projects?
The difficulty depends on the character and design. Simple shapes, like a Mickey silhouette, are easy and beginner-friendly. Full characters such as Elsa or Buzz Lightyear use more beads, take longer to complete, and require more patience. Beginners often start small before moving on to detailed portraits.
Can I mix different bead brands?
Yes, you can mix brands if the beads are the same size. However, different brands sometimes melt at slightly different speeds. It’s best to test on a small sample first to make sure the beads fuse evenly. This prevents uneven textures or gaps in your final design.
What’s the best size bead for detailed Disney designs?
Mini beads are best for capturing small details and smooth shading in complex Disney characters. Regular-sized beads are easier to handle, especially for kids or beginners. Many crafters use mini beads for portraits and regular beads for simple logos or ornaments.
Are there officially licensed Disney patterns?
Yes, some Perler bead kits and collections include official Disney designs. These usually feature popular characters like Mickey Mouse, Frozen, or Princess sets. Fan-made patterns are also widely available online, often free, and give you many more design options.
How do I prevent warping after ironing?
Warping happens when heat is uneven or the design cools too quickly. To prevent it, place the fused design under a flat surface, such as a heavy book, while it’s still warm. This keeps the piece flat and smooth as it cools down. Using medium heat and steady, gentle ironing also helps.


