
Making beaded keychains is one of the simplest and most creative DIY crafts you can try at home. You don’t need special skills or expensive materials; just a few beads, some string, and basic tools are enough to get started.
Whether you’re designing custom gifts, selling handmade crafts, or just looking for a relaxing hobby, learning how to make keychains with beads is a fun way to show your creativity.
In this guide, I’ll share practical steps, professional tips, and creative design ideas to help you make durable, personalized keychains that look store‑bought but are made by you.
Quick Guide 💡:
- Making beaded keychains is beginner‑friendly and affordable.
- You need beads, thread or wire, key rings, and simple tools.
- You can design them using fuse beads, glass, pearl, wooden, or seed beads.
- Experiment with patterns, colors, charms, and tassels for unique results.
- Perfect gift idea for birthdays, weddings, and holidays.
You May Want to Shop Fuse Beads

Caydo 10,000pcs Fuse Bead Starter Kit
Key Features
- 200+ App Patterns: Access over 200 pre-loaded designs in the Caydo Art Design App, with new patterns added monthly. Create pixel art, charms, and décor in one click.
- Smart Color Guidance: The app generates numbered bead maps that match Caydo’s 36 colors, making crafting easy for kids and beginners. No design skills needed.
- Safe, Child-Friendly Materials: Made with CPC-certified, non-toxic beads that melt smoothly without fumes. Colors stay bright and durable, safe for ages 6 and up.
- Creative Gift for Kids: Encourages focus, patience, and fine motor skills. Comes in premium packaging, perfect for birthdays, holidays, classrooms, or family crafts.
- Complete 10,000pcs Starter Kit: Includes 36-color 5mm fuse beads with storage, mini iron, heat mat, 20 ironing papers, 2 pegboards, 10 hooks, 10 ropes, 2 tweezers, and user manual—everything ready to start.
Why You Should Try Making Beaded Keychains
Creating bead keychains is a craft that combines precision and creativity. These small accessories are not only beautiful but also practical for decorating keys, bags, or backpacks.
Here’s why it’s worth trying:
- Simple setup: You only need basic materials.
- Custom designs: Add initials, favorite colors, or themed charms.
- Relaxing activity: It’s meditative and great for stress relief.
- Great gifting idea: Handmade keychains are thoughtful and personal.
- Perfect for all ages: Safe and easy enough for kids to enjoy too.
Whether you love sleek, elegant designs or playful colorful styles, beaded keychains can be customized for any occasion.
Materials You’ll Need
Before you start, gather everything you’ll need for crafting. The right materials will help your keychains look neat and last longer.
Basic supplies:
- Beads (glass, wood, crystal, or seed beads)
- Nylon cord, elastic thread, or jewelry wire
- Key rings or lobster clasps
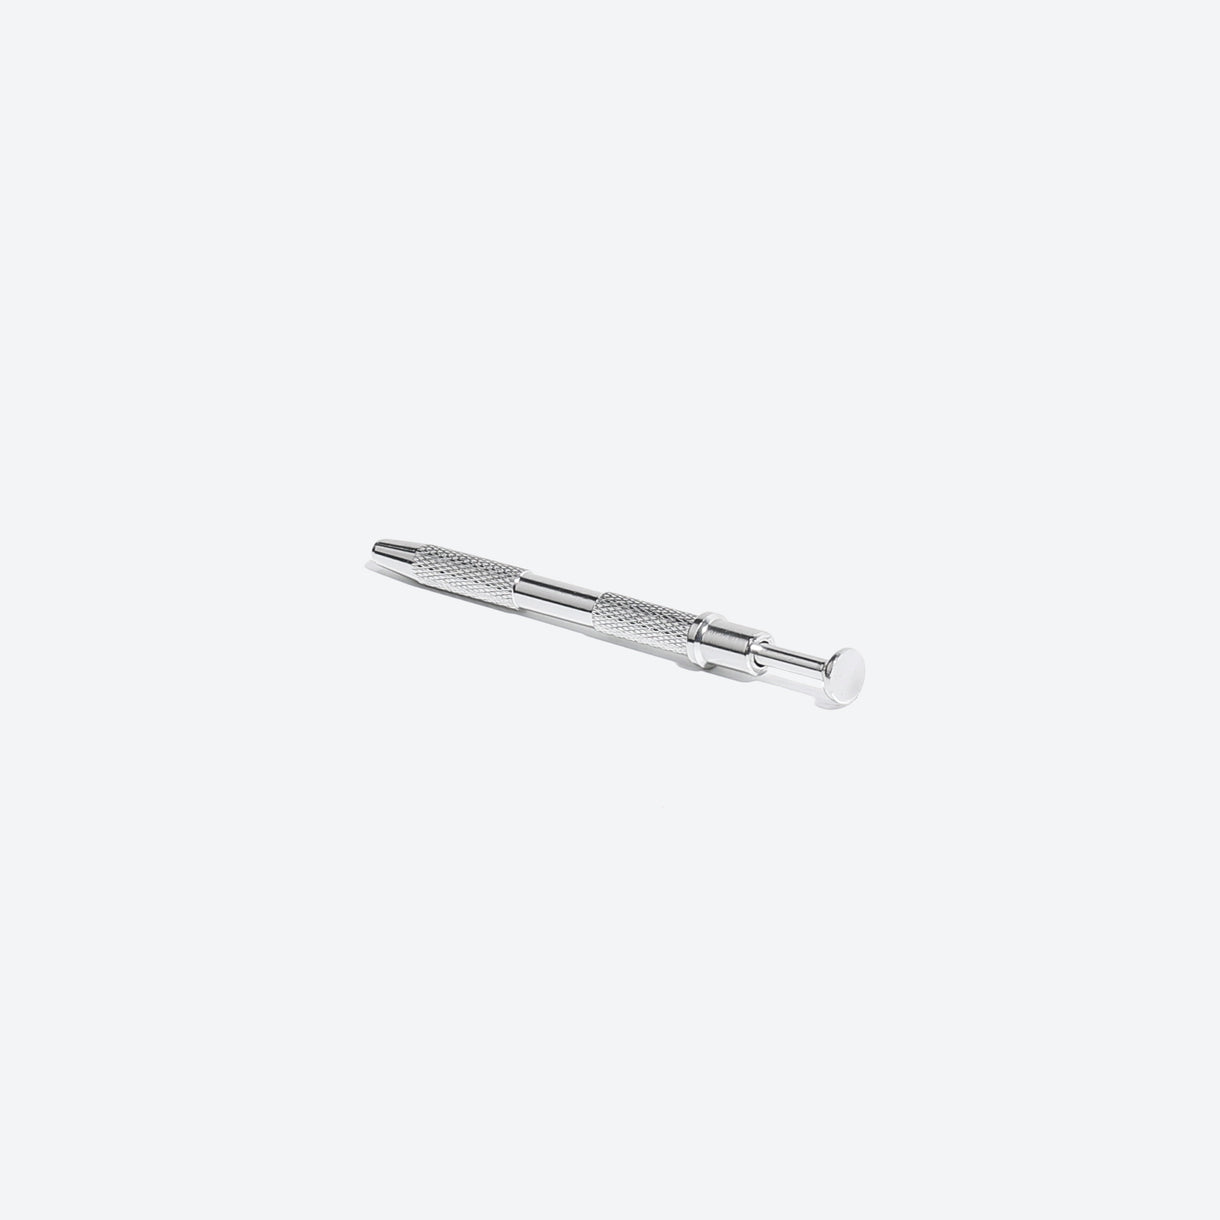
- Scissors and pliers
- Crimp beads or knot covers (for securing ends)
- Clear glue or nail polish (optional for finishing)
Optional add‑ons:
- Alphabet beads or letter charms for names
- Small tassels or pom‑poms
- Jump rings for attaching charms
- Small Fuse bead shapes as pendants
Expert tip: Use strong, high‑quality string or wire so your keychains don’t break with frequent use.
Shop Related Products

Step‑by‑Step: How to Make Keychains with Beads

Let’s walk through each step clearly and simply so you can follow along even if you’ve never made jewelry before.
Step 1: Plan Your Design
Think about the theme or look you want. Decide whether you want something simple or patterned. Draw a quick layout on paper for your color order or bead sequence.
Some creative design ideas:
- Rainbow gradient keychain.
- Personalized letter keychain with a name.
- Ombre shade pattern using glass or crystal beads.
- Mini animal or heart charm made of fuse beads.
Planning ahead helps you avoid color mistakes and keeps your final piece consistent.
Step 2: Cut and Prepare the Thread or Wire
Cut about 10–12 inches of string or wire for each keychain. If using stretchy cord, cut a slightly longer piece to make tying easier.
Tips:
- For bead‑heavy designs, double up your string for extra strength.
- For stiffer materials like wire, flatten the bends gently before using.
- Attach one end to your key ring or clasp so you can easily begin threading.
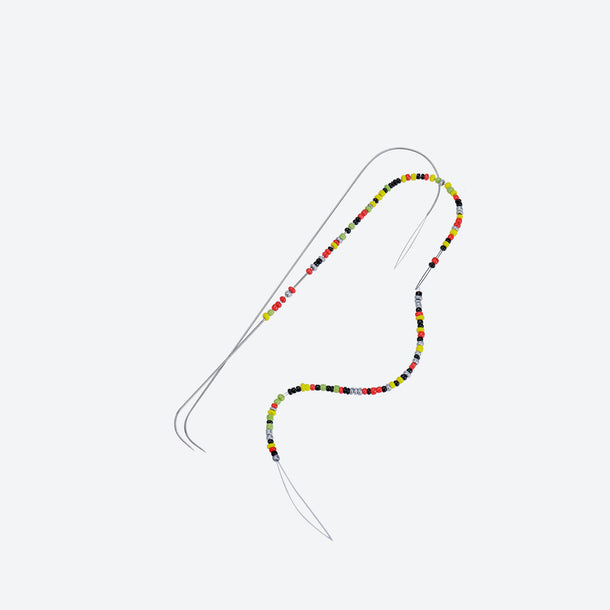
Step 3: Add the Beads
Now comes the fun part — threading the beads. You can experiment with color patterns and textures.
How to do it:
- Start adding beads in your chosen order.
- Mix bead shapes for a more interesting pattern.
- Add small spacers or accent charms between bead clusters.
Design tips:
- Alternate between shiny and matte finishes.
- Combine different bead sizes for visual variety.
- Try symmetrical patterns for a tidier look.
If you’re using fuse bead charms, make sure they have a small hole or loop. You can attach them directly to the ring using jump rings.
Step 4: Secure the Bead Ends
Once your design looks right, it’s time to secure the beads in place.
Techniques:
- For thread or cord: Use a double knot and add a dab of glue to strengthen it.
- For wire: Thread a crimp bead, loop the wire through the key ring, and return it through the crimp bead before flattening tightly with pliers.
Make sure nothing slides or comes undone when pulled. This is important for long‑lasting designs.
Step 5: Connect to the Key Ring
Attach your strand to the key ring or clasp. You can fold it over to form a loop or secure it with a metal crimp bead.
Pro tips:
- Keep your loop short for compact keychains.
- Use jump rings if attaching multiple components like charms or tassels.
- Press tightly but gently to avoid cracking delicate beads.
Once secured, test it by gently pulling to make sure the connection is tight.
Step 6: Finishing Touches and Customization
Your keychain is complete, but you can elevate it with small add‑ons that show personality.
Creative ideas:
- Add tassels for a bohemian look.
- Mix in letter or charm beads for initials.
- Combine color themes like pastel for spring or black and silver for minimalist chic.
- Attach small fuse bead art (hearts, flowers, or animals) as accents.
If you want your keychain to have shine and durability, apply a thin coat of clear nail polish or craft sealant over knots or edges.
Types of Beads You Can Use for Keychains
1. Fuse Beads
These plastic fusible beads let you create shapes or characters you can attach to your ring. Iron them first to fuse, cool them flat, then drill or poke a small hole for the ring.
Perfect for:
- Kids’ crafts
- Pixel art style
- Personalized letters or icons
2. Glass Beads
They’re elegant and available in many colors. Pair them with metal accents for a fashionable, polished look.
3. Wooden Beads
Lightweight, durable, and perfect for earthy or boho designs. You can even paint them for a custom aesthetic.
4. Crystal or Rhinestone Beads
Add sparkle and shine for special gift designs. They look great for keychains inspired by jewelry.
5. Seed Beads
Tiny, colorful beads great for woven designs and intricate patterns.
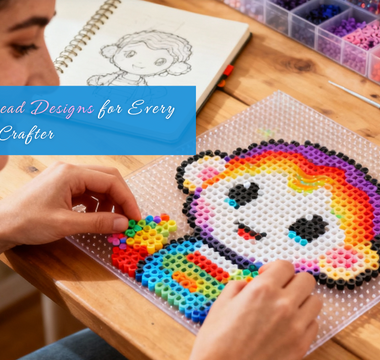
🧶 Also Read: Popular Fuse Bead Patterns: Fun, Easy, and Creative Designs for All Ages
Design Ideas for Every Style
For Beginners
- Simple color loops using 8–10 beads.
- Alphabet letter keychains using pony beads.
- Small tassel attached with a ring.
For Experienced Crafters
- Woven or braided bead chains.
- Layered multi‑strand keychains.
- Patterned fuse bead figures like stars or game icons.
For Gift Ideas
- Initial keychains with silver charms.
- Couple or friendship bead sets in matching colors.
- Holiday‑themed ones (hearts for Valentine’s, pumpkins for Halloween).
Common Mistakes and How to Avoid Them
Crafting is fun, but small errors can affect the quality of your keychains.
Avoid these common problems:
- Loose knots: Always double knot and use glue reinforcement.
- Uneven patterns: Arrange your beads on a tray by order before starting.
- Too tight threading: Leave slight space so the beads move freely.
- Weak materials: Use durable cord or jewelry wire that matches bead size.
Taking your time will make every project clean and professional.
How to Turn This Hobby into a Small Business
Many crafters turn their bead keychains into profitable side hustles. Handmade accessories are popular on Etsy, TikTok, and local markets because each piece feels unique.
To start selling:
- Develop your own theme or color palette.
- Invest in packaging — even simple cardboards make a big impression.
- Keep a consistent naming or branding style.
- Share behind‑the‑scenes videos or short tutorials on social media.
Customers often value effort and creativity over complexity.
Maintenance and Care Tips
Beaded keychains last longer with minimal upkeep.
- Avoid soaking in water or leaving them in extreme heat.
- Wipe occasionally with a dry soft cloth.
- For wooden beads, apply light mineral oil for shine.
- Replace metal hooks if they rust.
With proper care, your handmade keychains can last years without losing color or strength.
Conclusion
Making bead keychains is a simple craft with endless creative options. Whether you choose stretch cord for quick fun, beading wire for strength, headpins for trendy clusters, or fuse beads for playful pixel art, each method gives you something valuable and personal.
The key is to choose the right materials, use reliable knots or crimps, and keep the design lightweight.
Start small with a simple project, then try advanced methods as you gain confidence. These keychains make excellent gifts and can even be sold at craft fairs or online shops.
FAQs: How to Make Keychains with Beads
What string is best for beaded keychains?
Stretch cord is ideal for simple designs and kid-friendly projects because it is flexible and easy to tie. Beading wire is stronger and better for keychains that get daily use. For charm clusters, headpins are the best choice since they hold beads firmly and attach easily to jump rings.
How many beads do I need for one keychain?
Most keychains use about 15–30 medium beads, depending on their size and shape. The final length should stay under 7 cm so it doesn’t snag in pockets or bags. If you want more detail, add smaller beads as accents without making the chain too heavy.
How do I stop knots from coming undone?
Always tie a strong knot such as a double or surgeon’s knot. Add a small drop of clear jewelry glue or nail polish to secure it. Hiding the knot inside a larger bead makes the finish look clean and keeps it protected.
Can kids make bead keychains safely?
Yes, with adult supervision. Children can string larger, smooth beads on stretch cord, while adults handle cutting and attaching metal parts. Supervision also helps prevent choking hazards and ensures tools like scissors are used safely.


)