When I first got my embroidery machine, I felt overwhelmed. All those buttons, hoops, thread spools, and digital designs made it look harder than it really was.
After a few hours of trial and error, I realized that learning how to use an embroidery machine is not only doable but also fun. Once you know the basics, you can personalize clothes, decorate home projects, or even start making products to sell.
This guide will explain in simple terms how embroidery machines work, what supplies you need, and how to create your first stitched design step-by-step.
By the end of this article, you will feel confident running your own embroidery projects and starting to experiment with more creative designs.
Quick Takeaways 🧶:
- Embroidery machines automate the stitching process, allowing you to create professional-looking designs at home.
- You need more than just a machine: stabilizer, embroidery thread, and proper hoops are essential.
- Always hoop fabric tightly with stabilizer to prevent shifting.
- Use digitized embroidery designs in the correct format for your machine.
- Test your design on scrap fabric before starting the final project.
- Finish by trimming the threads, removing the stabilizer, and gently pressing the fabric.
- Practice is key. Each run teaches you how to adjust tension, speed, and techniques for different fabrics.
What Is an Embroidery Machine and How Does It Work?
Embroidery machines are sewing machines designed specifically for stitching patterns, designs, and lettering into fabric. Unlike regular sewing machines, they are programmed to follow a digital file that tells the needle exactly where to stitch.
Here’s what makes them unique:
- Automated stitching: Once you load your design file, the machine automatically follows it.
- Digitized designs: Patterns are created using embroidery software and saved in specialized formats, such as PES, JEF, or DST.
- Hooping system: Hoops hold the fabric tightly in place, preventing stitches from shifting.
- Thread and needle control: Machines are designed to handle embroidery thread smoothly without breaking.
- Single-needle vs. multi-needle machines: Single-needle machines operate similarly to regular sewing machines and require manual color changes. Multi-needle machines have several needles and can switch colors automatically.
If you have only used a sewing machine before, embroidery machines may feel advanced, but once you learn the basics, they become easy to use.
🧶Also Read: 10 Basic Embroidery Stitches Every Crafter Must Know
Essential Supplies You Need Before Starting
Using an embroidery machine is about more than just the machine itself. To produce clean, beautiful results, you need the right tools and supplies.
- Fabric: Cotton is excellent for beginners because it is stable and easy to hoop. Felt and canvas also work well. Stretchy fabrics, such as jersey or T-shirts, are more advanced.
-
Stabilizer: A material placed under fabric to prevent puckering or stretching.
- Tear-away stabilizer: Works well for woven fabrics like cotton.
- Cutaway stabilizer: Ideal for knits or stretchy fabrics, it stays in place permanently.
- Water-soluble stabilizer: Great for delicate fabrics or lace.
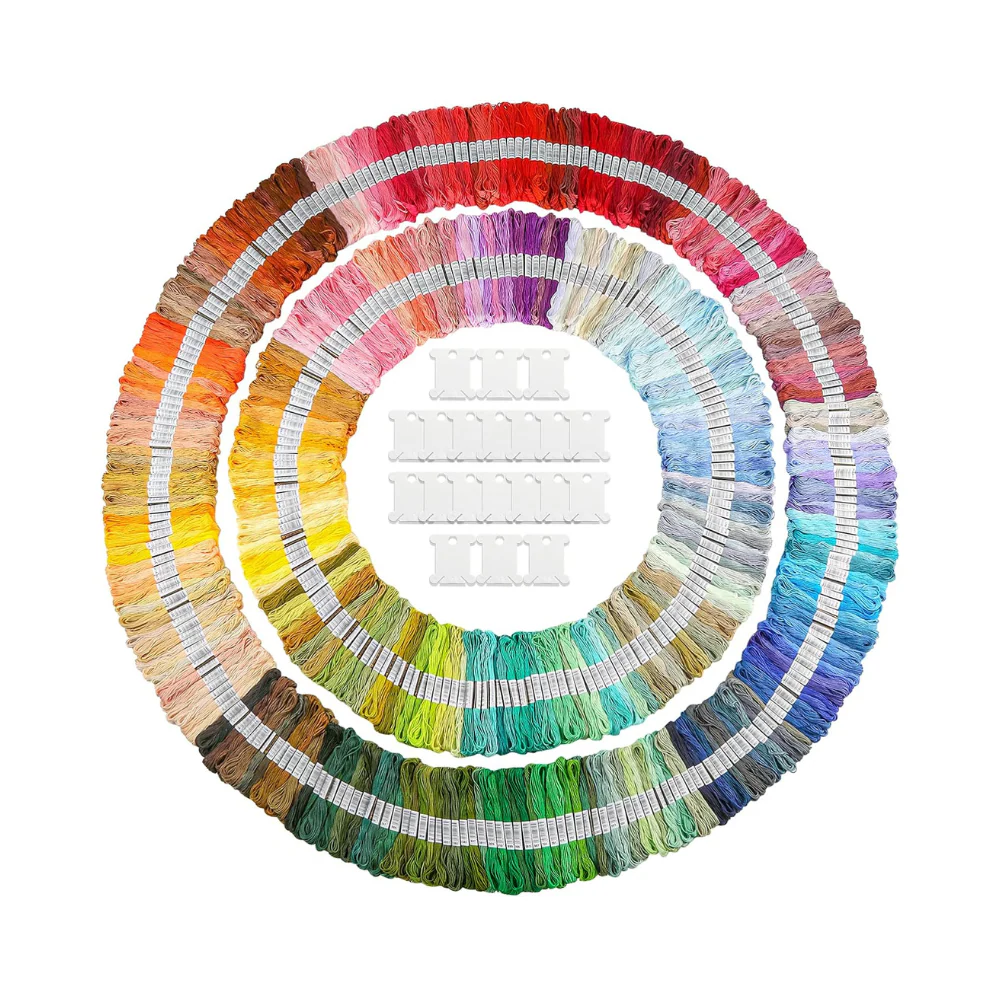
- Embroidery thread: Use polyester or rayon made explicitly for embroidery. They are smoother and shinier than sewing thread.
- Bobbin thread: A lightweight thread made for the bottom side of embroidery.
- Hoops: Frame that keeps the fabric steady while stitching.
- Needles: Embroidery needles reduce friction and prevent thread shredding.
- Design files: Download premade designs or create your own with embroidery software.
- Small, sharp scissors: For trimming thread jumps.
Personal insight: When I first started, I made the mistake of using regular sewing thread. It kept breaking during embroidery because embroidery machines run at higher speeds.
Once I switched to polyester embroidery thread, the stitches came out much smoother.
You May Want To Shop 🛒
🧶Also Read: 15+ Essential Embroidery Tools for Beginners & Experts
Step by Step: How to Use an Embroidery Machine

Step 1: Set Up Your Embroidery Machine
The first step is simply setting up the machine in a good environment.
- Place the embroidery machine on a flat, stable surface to prevent vibration while stitching.
- Ensure there is good lighting, as embroidery often requires precise color matching.
- Plug in and power up the machine. Most modern machines have a touch screen where you can select designs and settings.
If your embroidery machine comes with software, install it on your computer and connect via USB if required.
Why it matters: A stable environment prevents errors during stitching. Proper lighting enables you to identify problems early, such as broken threads or loose stitches.
Step 2: Choose and Transfer Your Design
Embroidery machines read design files created with software. You can buy professional designs online or use built-in designs that come with your machine.
What to do:
-
Choose the right file format. Different brands use different file types. For example:
- Brother uses .PES
- Janome uses .JEF
- Industrial machines are often use .DST
- Transfer the file: Most machines accept designs through USB drives. Some have built-in design libraries or Wi-Fi transfer options.
- Resize or adjust: Never resize designs on the machine by more than 10 percent, or it can distort stitches. Instead, resize using embroidery software.
Pro tip: Start with a simple design, less than four inches wide, when you are new. Large or dense designs are more complicated to manage.
Step 3: Prepare and Hoop Your Fabric
Hooping is the most important part of embroidery. It ensures your fabric stays put.
Steps to hoop correctly:
- Cut a stabilizer slightly larger than your hoop.
- Place a stabilizer under the fabric.
- Slide the fabric and stabilizer into the hoop frame.
- Tighten the hoop screw so the fabric is taut like a drum skin, with no wrinkles.
Why it matters: If the fabric is loose or wrinkled, the embroidery design may shift, causing gaps or distorted stitches.
Personal insight: When I rushed hooping in the beginning, the fabric slipped slightly as the needle moved. My letters looked slanted and uneven. Taking an extra minute to tighten the hoop fixed the issue.
Step 4: Threading and Bobbin Setup
Threading an embroidery machine is slightly different from threading a sewing machine. There is usually a threading diagram printed on the machine to guide you.
Tips for successful threading:
- Always raise the presser foot when threading to release the tension discs.
- Follow the thread path carefully through guides and tension disks.
- Insert the bobbin with the thread feeding in the correct direction.
- Pull several inches of top thread out before starting to prevent tangles.
Why it matters: Incorrect threading is the number one cause of broken threads and uneven stitches.
Pro tip: Use pre-wound bobbins if your machine is compatible with them. They save time and ensure even winding.
Step 5: Test and Start Embroidery
Before you press “start” on your main project, it is smart to run a test.
- Hoop a scrap piece of the same fabric you will be using.
- Load the design and run a test stitch.
- Watch the first 20 to 30 seconds carefully to make sure the thread runs smoothly and stitches align.
If something looks off, stop and adjust settings. This could mean tightening the hoop, adjusting tension, or re-threading the machine.
Once you are confident it looks good, load your real project and start.
Why it matters: Test runs save you from ruining your final fabric piece. Extra embroidery thread and stabilizer cost much less than replacing fabric.
Step 6: Finishing Your Embroidery
Once the design is stitched, finish it properly for a clean final look.
- Remove the hoop and the fabric.
- Trim jump threads between letters or parts of the design using sharp scissors.
-
Remove stabilizer:
- If using tear-away, gently pull excess from the back.
- If using cutaway, trim close to stitches but leave stabilizer under the design.
- If using a water-soluble stabilizer, rinse with water.
- Press the design from the back using a pressing cloth to flatten stitches.
Pro tip: Never iron directly on top of your stitches. Always press from the back or use a pressing cloth to protect shiny embroidery thread.
🧶Also Read: Types of Embroidery Stitches: 15 Must-Know Basics & Beyond
Pro Tips for Using an Embroidery Machine for Better Results
Here are extra tips that come from experience and professional embroiderers:
- Use quality thread and needles. Cheap supplies often lead to breakage and frustration.
- Adjust machine speed. Lower speeds yield better stitch accuracy, especially on densely designed fabrics.
- Keep a notebook of settings. Record which stabilizer and tensions work for different fabrics.
- Change needles often. Stitching every 8 to 10 hours is a good rule of thumb.
- Use an appropriate hoop size. A hoop that is too large increases the risk of fabric shifting.
Common Mistakes Beginners Make ⚠️
Avoid these issues that most beginners encounter:
- Forgetting to use a stabilizer, which makes stitches pucker.
- Using the wrong needle type or size.
- Loading the wrong design format into the machine.
- Not tightening the fabric in the hoop properly.
- Running the machine at maximum speed when learning.
Conclusion
Learning how to use an embroidery machine may feel intimidating at first, but breaking the process into steps makes it simpler.
Choose designs carefully, hoop fabric correctly, thread your machine properly, and always run a test. With each project, you will gain a deeper understanding of your machine and build confidence.
Remember, embroidery is a skill that improves with practice. Don’t get discouraged if your first few projects have mistakes. Those minor flaws are part of the learning process.
If you are ready to get started, explore these embroidery collections for everything you need:
FAQs About How to Use an Embroidery Machine
Is an embroidery machine hard to use?
Not once you learn the basics. Modern machines have clear screens, auto needle threaders, and guided steps. Start with small designs and medium speed to build skill. Read the manual and practice on scrap fabric before your first project.
What is the best embroidery machine for beginners?
Many first timers like entry level models from Brother and Janome because they are reliable and easy to set up. Look for a 4x4 or 5x7 hoop size, a color screen, and good customer support. Check that common files like PES or JEF are supported. Read reviews and choose a model with plenty of tutorials.
Do I need special software?
If you only use built in designs or buy ready made files, you may not need software. To create, resize, or edit your own designs, you will need embroidery software that matches your file type. Basic programs handle lettering and simple edits. Advanced tools add digitizing, density control, and underlay settings.
Can I use regular sewing thread in my embroidery machine?
It is not recommended. Embroidery thread, like 40 weight polyester or rayon, is made for high speed stitching and smooth shine. Regular sewing thread can break more and dull the look. Use matching bobbin thread and test tension on scrap.
What fabrics are easiest to start with?
Cotton woven fabric and felt are beginner-friendly and stable. Use a medium cutaway or tear away stabilizer to prevent puckers. Avoid slippery silk and very stretchy knits until you gain control. When using knits later, add a stabilizer and slow the speed.
How long does a project take?
Time depends on stitch count, size, and speed. A small logo may stitch in about 10 to 20 minutes. A large or dense design can take 60 minutes or more. Always add extra time for hooping, color changes, and trimming.


