
Embroidery hoop is a simple, circular tool that quietly holds the key to flawless hand stitching. For beginners, it can be a source of frustration, fabric slipping, uneven tension, or stubborn hoop marks can threaten to unravel your creative spark before you even begin.
But with the right know-how, your embroidery hoop becomes your best friend, turning every project into a joy.
This definitive guide will walk you through exactly how to use an embroidery hoop from choosing the right type, to achieving that perfect, drum-tight tension, to troubleshooting common pitfalls.
Whether you’re brand new to embroidery or looking to refine your setup, you’ll find everything you need to start every project with confidence.
Role of the Embroidery Hoop

Caydo 10 Inch Wooden Round Embroidery Hoop
Achieving Optimal Fabric Tension
Imagine trying to play a drum with a loose, saggy skin, your rhythm would fall flat. Embroidery is no different! The hoop stretches your fabric taut, giving your needle a smooth, even surface to glide through. This prevents puckering, ensures even stitches, and makes needle control much easier.
Providing Stability for Precise Stitching
A hoop holds your fabric firmly in place, acting as a steady frame so you can focus on your stitches. No more chasing wrinkles or fighting shifting fabric—just crisp, controlled movements, even for the most intricate designs.
Protecting Your Fabric from Wrinkles and Slippage
By minimizing how much you touch and handle your fabric, a hoop keeps your work clean and free from unwanted creases. It’s a small step that makes a world of difference, especially for larger or more delicate projects.
Types of Embroidery Hoops: Choosing Your Perfect Partner
Not all embroidery hoops are created equal! Here’s how to find your match:
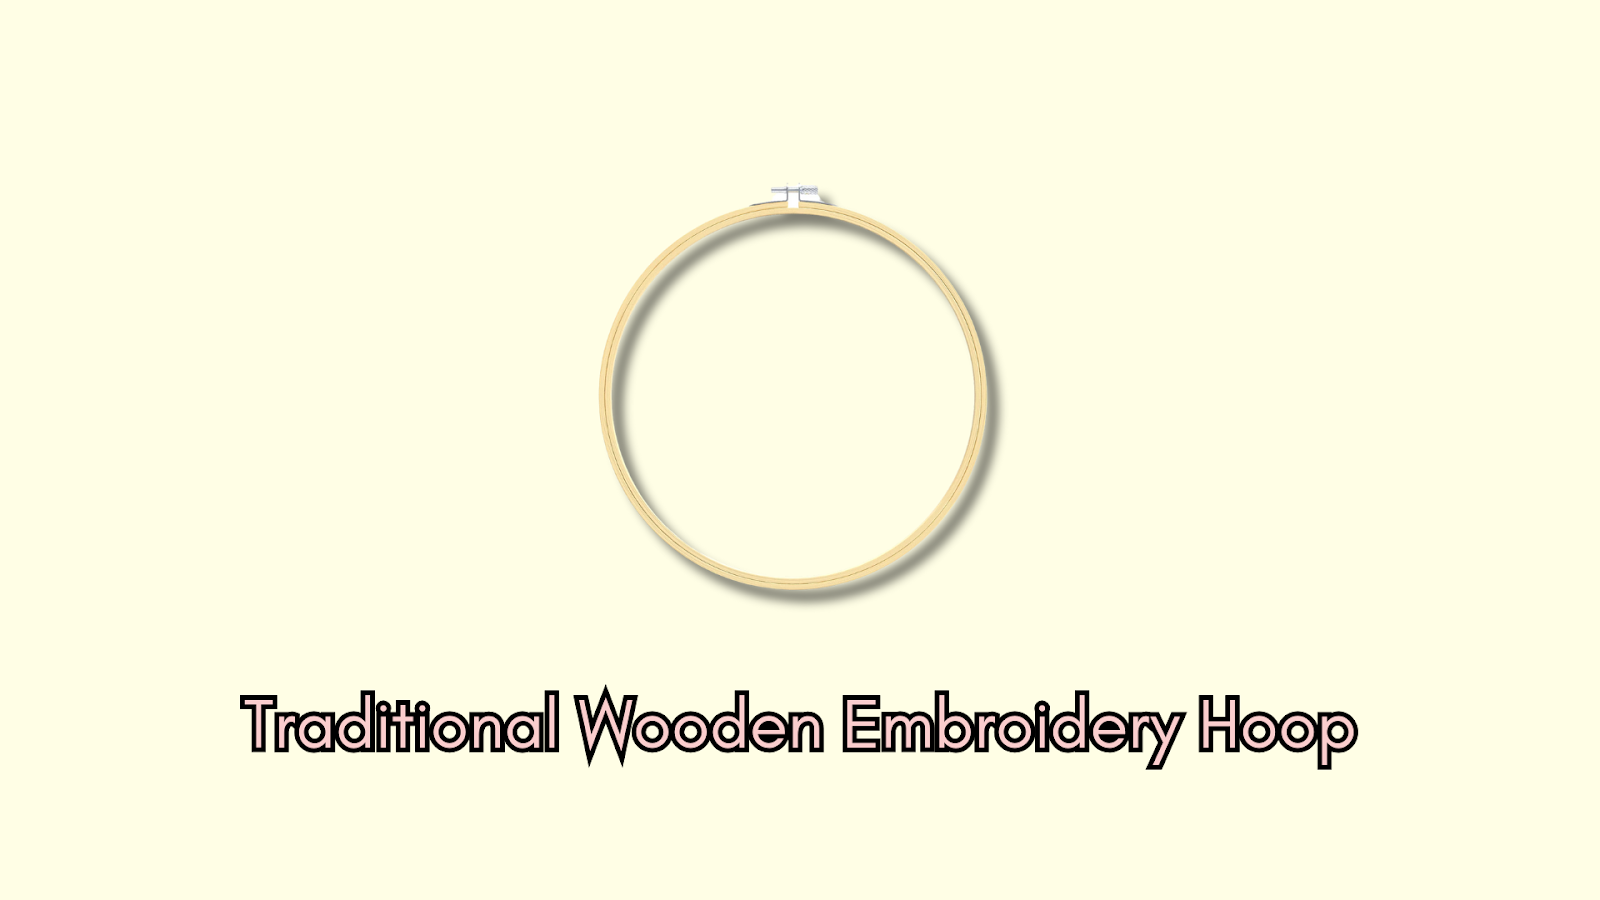
🧶 Traditional Wooden Hoops
Pros: Classic look, sturdy grip (especially when bound), available in many sizes and finishes.
Cons: Can warp if exposed to moisture, may stain fabric unless bound with tape or fabric strips.
Best for: General embroidery, projects meant for display.
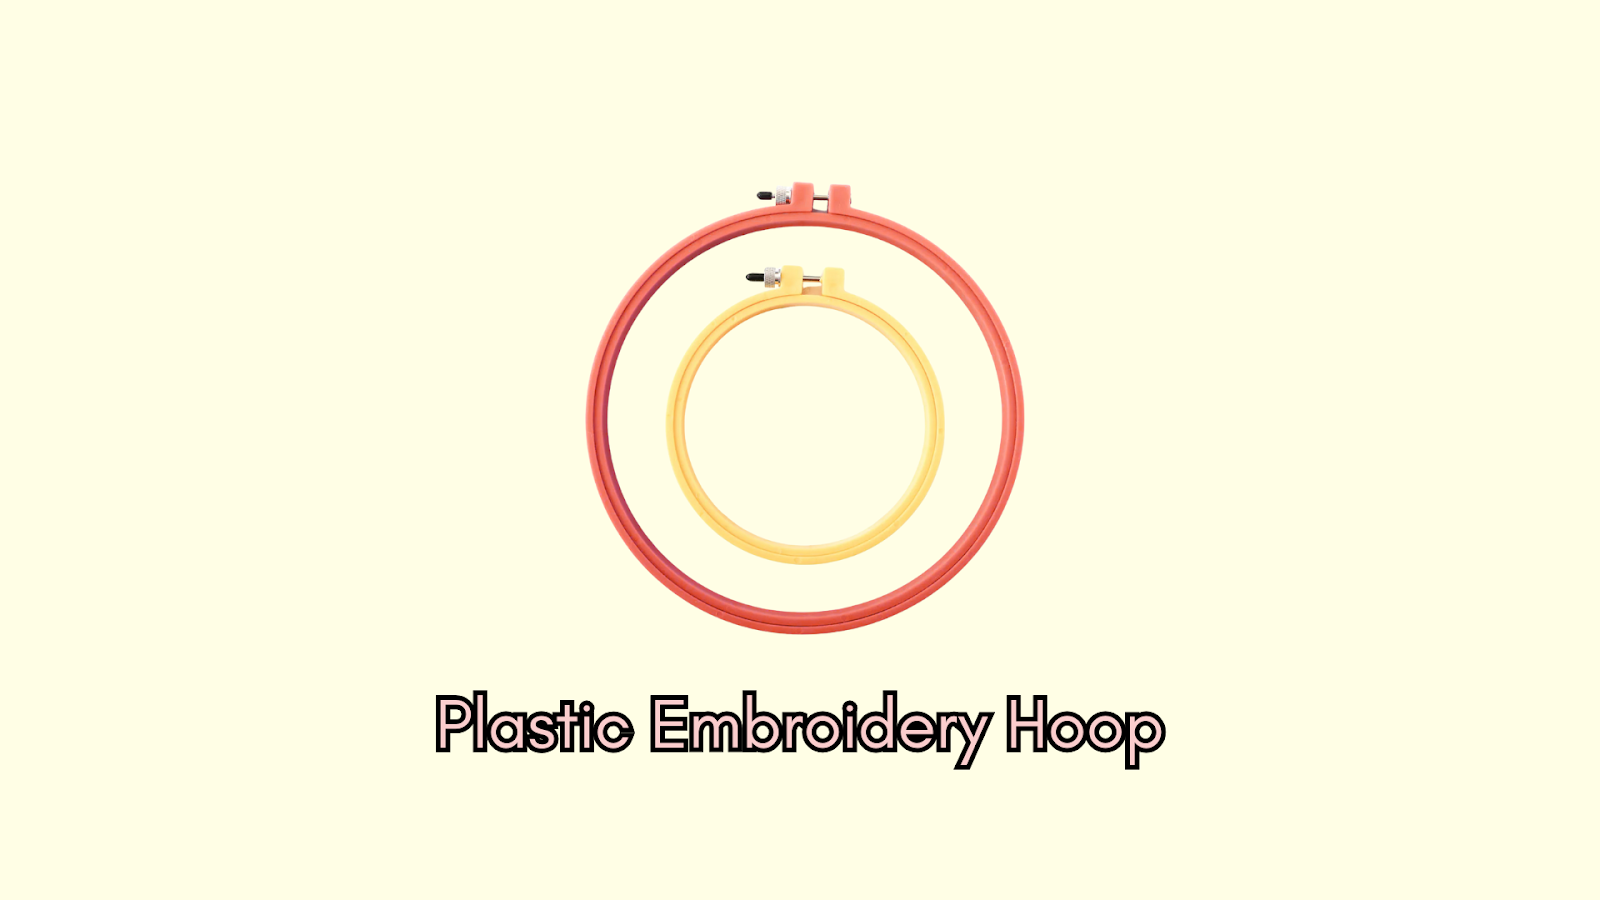
🧶 Plastic Hoops
Pros: Lightweight, affordable, less prone to warping, great for travel.
Cons: Sometimes slippery screws may loosen with use.
Best for: Beginners, quick or budget-friendly projects.
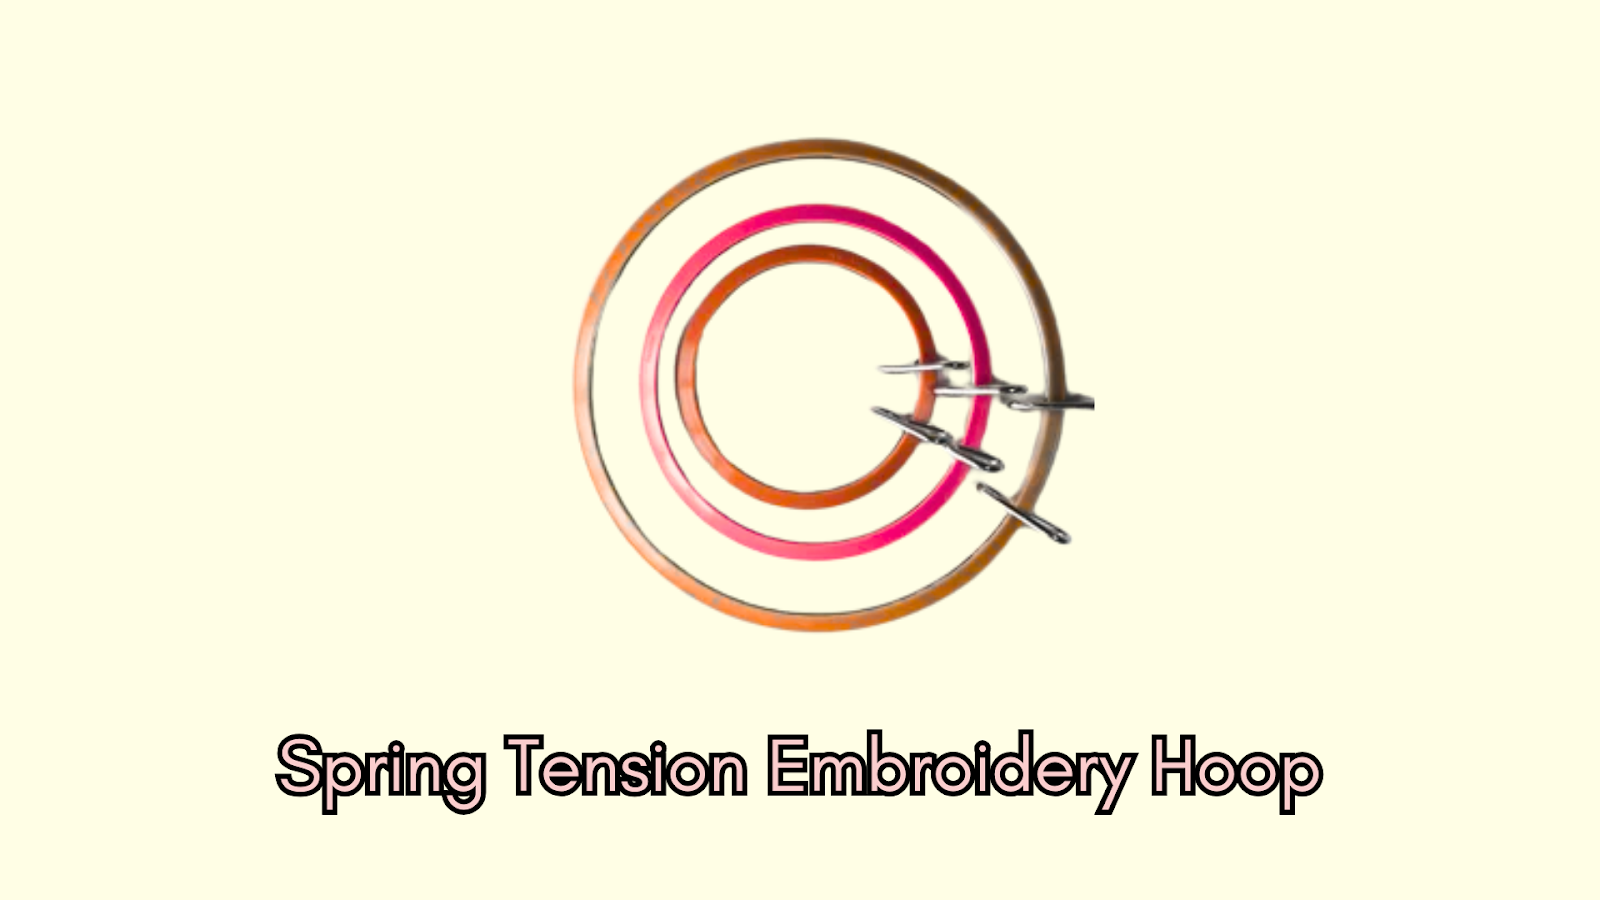
🧶 Spring Tension Hoops
Pros: Super quick to use just squeeze, insert, and release! Great for frequent fabric changes.
Cons: Tension is less adjustable, not ideal for leaving fabric hooped long-term.
Best for: Small projects, repetitive hooping, or when you need to swap fabrics often.
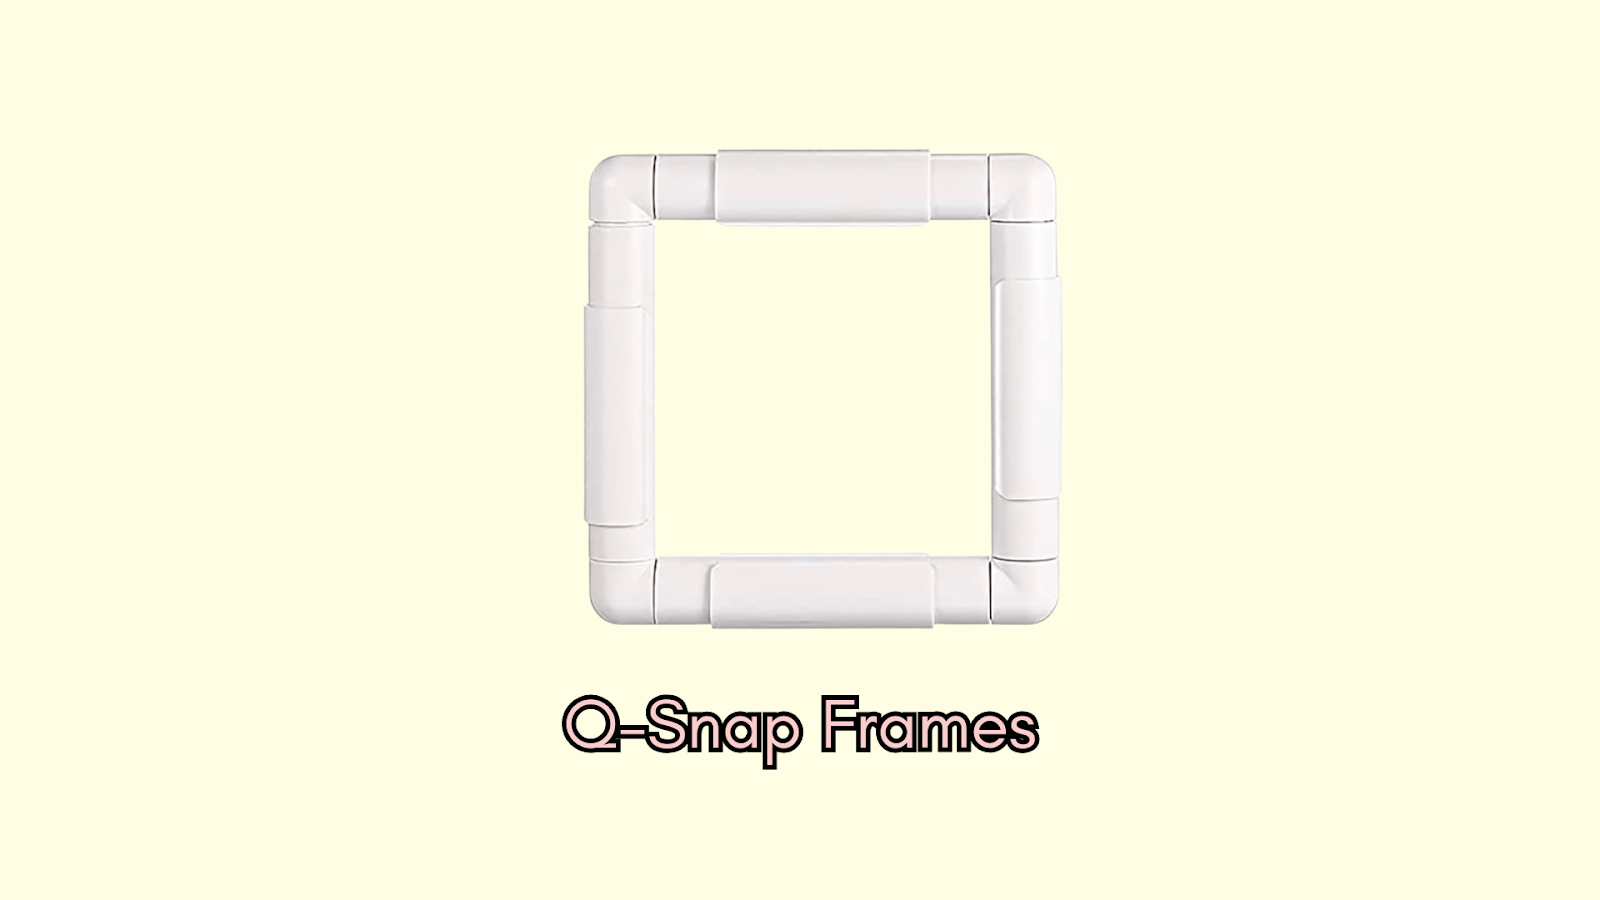
🧶 Q-Snap Frames (Brief Mention)
Pros: Provide even tension over a larger area, minimize hoop marks.
Cons: Bulkier, not technically a “hoop.”
Best for: Large projects, cross-stitch, when hoop marks are a concern.
🧶 Display Hoops vs. Working Hoops
Working hoops are for stitching, choose comfort and grip.
Display hoops are for framing finished work and picking a hoop that complements your project aesthetically.

📌 Curious about different types of embroidery? Check out Embroidery vs. Cross Stitch: What’s the Difference? to discover which style you might love best!
Preparing Your Fabric and Hoop for Success
✅ Iron Your Fabric (Crucial First Step)
Start with a smooth canvas! Ironing removes wrinkles, ensuring even tension and preventing puckering. For delicate fabrics, use a pressing cloth.
✅ Separate the Inner and Outer Rings of Your Hoop
Loosen the screw and gently pull the two rings apart. The inner ring is solid; the outer ring has the tightening mechanism.
✅ Positioning the Inner Ring
Lay the inner ring flat on a table or work surface this creates a stable base for hooping.
Step-by-Step Guide on How to Use an Embroidery Hoop for Optimal Tension
-
Lay Your Fabric Over the Inner Ring
Center your fabric so your design sits where you want it. Make sure there’s at least 1–2 inches of extra fabric around the hoop for grip. Smooth out any wrinkles with your hands.
-
Gently Place the Outer Ring Over the Fabric and Inner Ring
Align the outer ring above the inner ring and fabric, then press down evenly. You may hear a satisfying “pop” as everything clicks into place.
-
Tighten the Screw (The Key to Good Tension!)
Begin tightening the screw gradually. Pause and gently tug the fabric edges—your goal is “drum-tight” fabric. Flick it lightly; it should sound like a drum. Don’t over-tighten at first; you’ll adjust as you go.
-
Pulling Your Fabric into Perfect Tension
Work around the hoop, gently pulling the fabric’s edges in all directions. After each round of pulling, tighten the screw a bit more. Repeat until the fabric is uniformly taut and smooth.
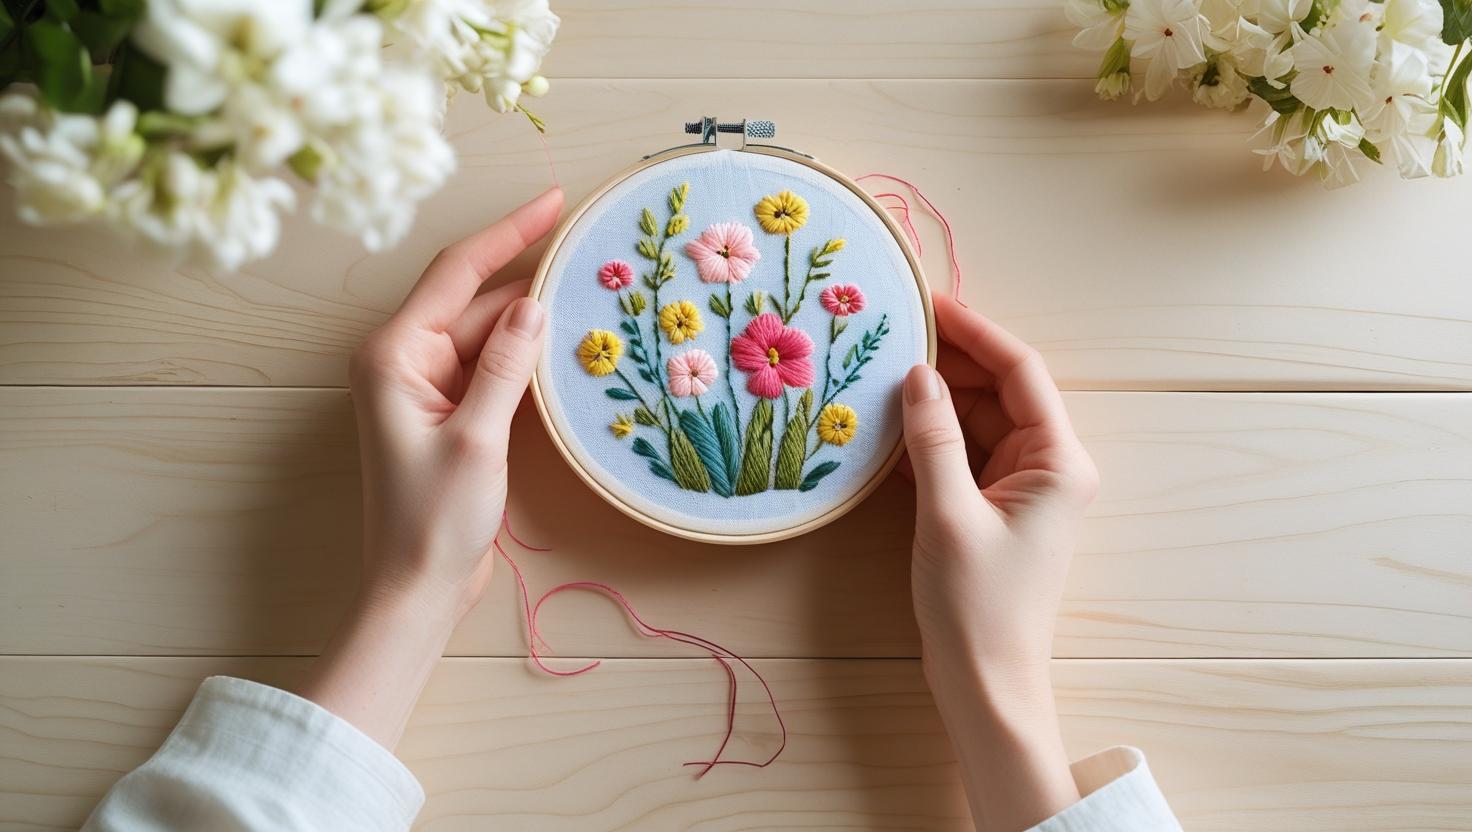
📌 Ready for your first project? Don’t forget to browse these beautiful flower embroidery patterns for inspiration!
Advanced Hooping Tips, Techniques & Considerations
✅ Binding Your Wooden Hoop (Preventing Slippage & Stains)
Wrap the inner ring with cotton twill tape or bias tape. This increases grip, prevents fabric slippage, and protects against wood stains, especially important for heirloom projects or delicate fabrics.
✅ Hooping Tricky Fabrics (Slippery, Stretchy, or Delicate)
For silk, velvet, knits, or thin cottons:
- Use fusible interfacing or a lightweight stabilizer to add structure.
- Bind your hoop for extra grip.
- For very delicate fabrics, consider hooping a piece of stabilizer and basting your fabric onto it (floating).
✅ Floating Fabric for Intricate or Pre-Finished Items
If your project fabric is too small to hoop or is already part of a finished item (like a shirt), hoop a piece of stabilizer or scrap fabric, then baste or pin your project fabric on top. This method keeps your work secure without risking damage.
Troubleshooting Common Hoop Issues: Solutions for Your Embroidery
Solving the “My Fabric is Too Loose!" Dilemma
Causes: Not tightening enough, fabric slipping, hoop too large.
Solutions:
- Systematically re-tighten the screw and pull fabric edges.
- Bind the hoop for extra grip.
- Use a smaller hoop if possible.
Avoiding and Removing Pesky Hoop Marks
Prevention:
- Don’t leave fabric hooped between sessions, unhoop at the end of each day.
- Bind your hoop to soften the grip.
Removal:
- Lightly mist the area with water and smooth with your fingers.
- Gently iron from the back (protecting stitches with a pressing cloth).
- Wash the project if the fabric and threads allow.
My Fabric Keeps Slipping! What Will I Do
Causes: Smooth hoop surface, slippery or thin fabric, improper pulling.
Solutions:
- Bind the hoop or use a non-slip plastic hoop.
- Add a lightweight stabilizer.
- Practice systematic, gentle pulling from all sides.
Dealing with Uneven Tension
Causes: Only pulling in one direction, tightening screw too quickly.
Solutions:
- Pull fabric evenly in all directions, working around the hoop.
- Tighten the screw gradually, checking tension as you go.
📌 Need to remove stitches or fix a mistake? Check out this guide on how to remove embroidery for step-by-step help!
Embroidery Hoops Care Tips
Removing Your Fabric Safely
Completely loosen the screw before removing the fabric. Gently lift out the fabric, never yank, as this can distort your work.
Cleaning and Storing Your Hoops
Wipe wooden hoops with a dry or slightly damp cloth. Store all hoops in a dry place, away from direct sunlight. Lubricate metal screws occasionally. Keep hoops separate from fabric to prevent accidental stains.
When to Unhoop Your Project
General rule: Unhoop after each stitching session to prevent marks.
Exceptions: Very short breaks, or when using Q-Snap frames.
Conclusion:
Mastering how to use an embroidery hoop is the foundation of beautiful, frustration-free embroidery. With the right preparation, setup, and care, you’ll enjoy smooth stitches, even tension, and projects you’re proud to show off.
Don’t be afraid to experiment and practice, soon, hooping will become second nature.
Ready to begin? Grab your hoop, set your fabric drum-tight, and start your next embroidery project with confidence and joy!
Frequently Asked Questions
How tight should my fabric be in an embroidery hoop?
Your fabric should be "drum-tight" in the embroidery hoop, meaning when you flick it with your finger, it should produce a sound similar to a drum. This optimal tension is crucial for achieving even stitches, preventing puckering, and making it easier to control your needle during the embroidery process.
Can I leave my fabric in the hoop overnight?
It's generally recommended to remove your fabric from the embroidery hoop after each stitching session or at the end of the day, especially if using a traditional wooden or plastic hoop. Leaving fabric hooped for extended periods, particularly in humid conditions, can lead to permanent hoop marks, crushing stitches, or even stretching the fabric.
What is hoop binding and why should I use it?
Hoop binding involves wrapping the inner ring of a wooden embroidery hoop with fabric strips or twill tape. This technique serves two main purposes: it provides extra grip to prevent your fabric from slipping, and it creates a protective barrier that helps prevent the wood from staining or marking delicate fabrics, especially over long stitching sessions.
What size embroidery hoop should I use for my project?
The size of the embroidery hoop you should use depends on the size of your design and your comfort level. A common rule of thumb is to use a hoop that is slightly larger than your design area, allowing enough space for comfortable stitching without repositioning too frequently. However, for large designs, you'll likely need to reposition the hoop as you work.


